That frustrating crunch underfoot after “cleaning” your carpet? Or worse—sticky residue that attracts dirt faster than before? You’re not alone. Most homeowners waste hours with carpet cleaners only to end up with damp, discolored floors that re-soil within weeks. The best way to clean carpets with a carpet cleaner isn’t about brute force or expensive machines—it’s about precision. When done correctly, deep cleaning removes 95% of embedded allergens and extends carpet life by 5+ years. Skip the guesswork: This guide reveals the exact 7-step process used by professionals, tailored for any rental or consumer machine. You’ll learn why vacuuming wrong sabotages results, how to dry carpets in half the time, and critical mistakes that cause permanent damage.
Vacuum Slowly in Three Directions Before Cleaning
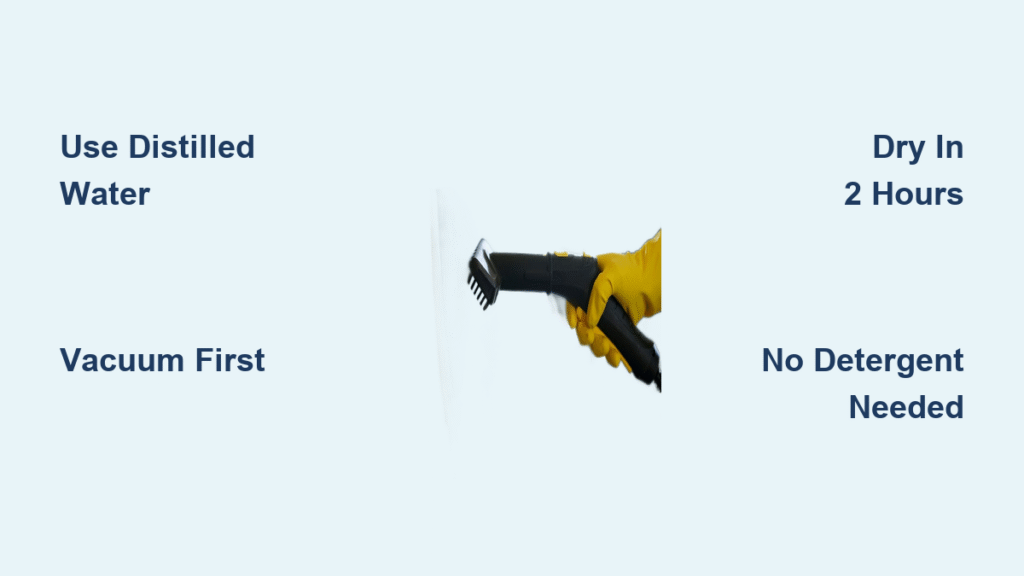
Rushing through pre-vacuuming guarantees muddy results. Slow triple-pass vacuuming removes 70–80% of loose soil that turns into abrasive sludge when wet. Move at one foot per second—count “one-Mississippi” per step—and vacuum forward, backward, then perpendicular to lift dirt from all angles. Empty your canister or bag when half-full; suction plummets beyond that point, leaving gritty debris behind.
Critical mistake to avoid: Skipping baseboards. Use crevice tools along walls and under furniture legs where sand and pet hair accumulate. These hidden deposits act like sandpaper on damp fibers, accelerating wear. For high-traffic zones, vacuum in a tight “W” pattern to dislodge packed-in soil from traffic lanes.
Why Standard Vacuuming Fails
Most people vacuum too fast (over 2 ft/sec), missing 40% of surface grit. Worse, they never empty half-full bags, reducing suction by 50%. This leaves fine sand trapped in fibers that grinds down carpet pile during cleaning. Always vacuum before moving furniture—lifting chairs later redistributes dirt onto freshly cleaned areas.
Match Cleaning Formula to Your Exact Carpet Fiber

Using the wrong solution causes irreversible damage. Your carpet’s fiber type dictates water temperature, formula chemistry, and even drying methods. Check the manufacturer’s tag (usually on the carpet edge) or test a hidden 2×2 inch patch first.
Wool Carpets: Cold Water Only
Never exceed 100°F water or use alkaline cleaners. Wool fibers felt and shrink with heat, causing permanent browning. Use pH-neutral, enzyme-based formulas only. If you notice shrinkage during testing, switch to dry-compound cleaning (sprinkle Host® powder, agitate with a counter-rotating brush, vacuum after 30 minutes).
Synthetic Fibers (Nylon/Polyester): Heat-Tolerant
Nylon handles 120–140°F water and most formulas—except chlorine bleach, which yellows it within minutes. Polyester tolerates oil-based solvent pretreats for grease stains. Always avoid “oxy” cleaners on olefin (like SmartStrand®), as they degrade the fiber.
Natural Fibers (Sisal/Jute): Zero Water Saturation
Water causes irreversible shrinkage and browning in plant-based rugs. Never use a standard carpet cleaner. Instead, apply a dry encapsulation system: Sprinkle Capture® powder, brush gently, and vacuum after 20 minutes. For spot cleaning, dab with a barely damp microfiber cloth.
Prep Rooms in 15 Minutes to Prevent Damage
Skipping room prep risks staining furniture legs and creating mud-traps. First, move small furniture outside the room. For heavy items staying in place, place aluminum foil squares under legs—this blocks wood dye from leaching into damp carpet. Then dust ceiling fans and baseboards; airborne particles will settle on wet carpet and bake in as it dries.
Essential pre-clean checklist:
– ✅ Vacuum thoroughly using triple-pass method
– ✅ Pre-treat stains with 3-minute dwell time
– ✅ Fill clean tank with hot tap water (120–140°F)
– ✅ Measure formula precisely using cap lines (2–4 oz per gallon)
Pro tip: Place a box fan in the doorway before cleaning starts. This creates cross-ventilation that cuts drying time by 40%, preventing musty odors from lingering in the padding.
Set Up Your Machine for Maximum Extraction

Filling tanks incorrectly causes foaming, residue, or machine failure. Always pour hot tap water into the clean tank up to the “water” line first. Then add formula only to the separate “formula” line—never guess amounts. Overdosing creates sticky carpets that re-soil in days. If your machine has a heater (like Bissell ProHeat), wait 2–3 minutes for water to reach temperature before starting.
Tank Size vs. Room Coverage
| Machine Type | Clean Tank Size | Max Coverage | Key Tip |
|---|---|---|---|
| Full-size upright | ¾–1 gallon | 200–300 sq ft | Use express dry mode for 30-min surface drying |
| Bissell Big Green | 1.7 gallons | Whole home (500+ sq ft) | Empty dirty tank every 15 mins in pet homes |
| Portable spotter | ¾ quart | Stairs/upholstery | Run vinegar rinse after pet stains to prevent clogs |
Never pour dirty water down storm drains—it contaminates waterways. Empty into a toilet or utility sink.
Clean With the Two-Pass Method to Avoid Streaks
The best way to clean carpets with a carpet cleaner requires precise movement. Start in the farthest corner from your exit. On your first (north-south) pass, hold the trigger to dispense solution. On the return (south-north) pass, release the trigger to extract dirty water only. Overlap each pass by 1–2 inches to prevent streaking.
Speed is critical: Count “one-Mississippi, two-Mississippi” per step—about two feet every four seconds. Too fast leaves soil behind; too slow over-wets the pad. For edges, switch to the hose/upholstery tool and make three slow passes along baseboards. These areas collect 3x more grime than open floor space.
Fixing Common Mistakes
- Streaks appearing? Your passes are too fast or the brush roll is clogged with hair. Rinse the brush under tap water and slow your pace.
- Carpet still dirty? You skipped pre-vacuuming. Soil turns to mud when wet, requiring a full re-clean.
Extract Twice and Dry in 2 Hours Flat

Making only one wet pass leaves 30%+ moisture in the padding—inviting mold growth. After your final wet pass, make two additional dry passes (trigger released) over the same area. This pulls out residual water and cuts drying time in half. Empty the dirty tank when water hits the “full” line or suction drops.
Accelerate drying with these pro tricks:
– ✦ Place box fans 3 ft apart facing opposite walls for cross-ventilation
– ✦ Run ceiling fans on high (counter-clockwise in summer)
– ✦ Set HVAC to 72–75°F—colder air holds less moisture
– ✦ In humidity >60%, run a dehumidifier (aim for 40–50% RH)
Dry time benchmarks:
– Surface dry (walkable in socks): 30–60 mins with express modes
– Full dry (safe for furniture): 6–24 hours (depends on pile depth/humidity)
– Never walk on damp carpet with shoes—they track in new soil instantly.
Erase Pet Urine Without Re-Soiling
Pet accidents require immediate action to prevent pad contamination. First, blot fresh urine with white towels until no yellow transfers. Then saturate the stain and a 2-inch perimeter with enzyme spray—never let it dry. Wait 10 minutes for enzymes to digest proteins. Extract using pet-specific formula until water runs clear on a white towel.
Hidden spot detection: After 24 hours, use a black light in a dark room. Urine glows neon yellow—circle spots with painter’s tape and re-treat. If odor persists after two cleanings, padding is likely contaminated; replace the pad or call a professional.
Prevent Crunchy Carpet Syndrome Forever
That stiff, sticky feeling means residue from overdosed soap or incomplete rinsing. Fix it immediately: Run the machine with plain hot water for two passes until suds disappear. Once dry, vacuum aggressively to lift flattened fibers.
Pro prevention:
– Use distilled water in hard water areas to avoid mineral buildup
– Never exceed 4 oz formula per gallon—more soap creates more residue
– Always run a final rinse pass with clean water
Maintain Your Machine After Every Use
Rinsing tanks prevents mildew and clogs. Empty both tanks completely, then fill the clean tank with warm water + 1 tsp dish soap. Run the machine for 30 seconds over a towel to flush lines. Remove the brush roll, cut away hair with scissors, and air-dry for 24 hours. Store with tanks uncapped in a dry place—sealed containers trap moisture.
Monthly deep clean: Fill the clean tank with 1:1 white vinegar and hot water. Run for 60 seconds to dissolve mineral deposits. This extends machine life by 3+ years.
Final Checklist for Flawless Results
- Vacuum slowly in three directions (forward/back/perpendicular)
- Pre-treat stains 3–5 minutes before cleaning
- Fill tanks with hot water + measured formula (never guess)
- Clean with wet pass + dry pass; overlap 1–2 inches
- Extract with two dry passes; empty tanks when full
- Dry with fans/dehumidifier until fully dry (6–24 hrs)
- Vacuum again once 100% dry to restore pile
Deep cleaning every 6–12 months isn’t just about looks—it removes dust-mite allergens and prevents fiber damage from embedded grit. Set a calendar reminder now. Your carpet’s longevity (and your lungs) will thank you. Remember: The best way to clean carpets with a carpet cleaner combines precision, patience, and the right formula for your specific fibers. Skip one step, and you’re just moving dirt around.