That dreaded click instead of an engine roar. A dead battery strikes when you’re already late, stranded in a grocery store lot or freezing in your driveway. Your NOCO Boost jump starter solves this crisis without waiting for roadside assistance or flagging down strangers. This compact device delivers up to 6,250 peak amps—enough to restart cars, trucks, RVs, and boats in minutes. Forget bulky jumper cables; with proper technique, your NOCO becomes a reliable lifeline. You’ll master the exact connection sequence, decode confusing LED signals, and avoid critical mistakes that could damage your vehicle. Most importantly, you’ll gain confidence knowing you can conquer battery emergencies alone.
Understanding how to use NOCO Boost jump starter correctly separates success from frustration. Many users fail because they skip preparation steps or misread status lights. This guide cuts through confusion with field-tested procedures from actual emergency scenarios. We’ll transform you from a nervous first-timer to a confident operator who handles dead batteries like a pro. Let’s get your vehicle—and your peace of mind—running again.
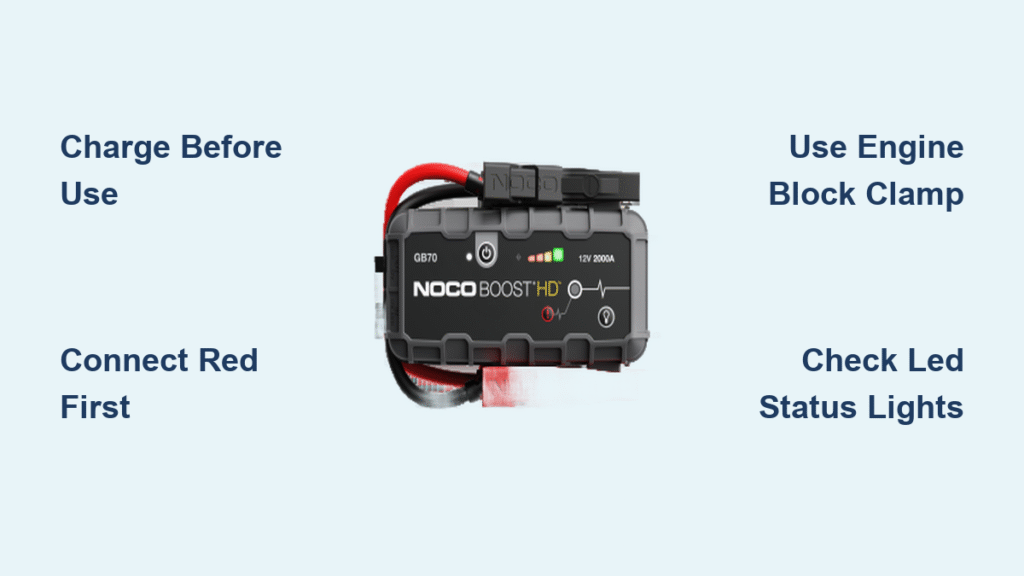
Charge Your NOCO Before First Use
Never trust a half-charged jump starter when stranded. Check your unit’s charge indicator immediately after unboxing—most models require 4-6 hours for a full charge using the included wall adapter. A fully charged NOCO GB70, for example, delivers up to 50 jump starts under ideal conditions, but real-world performance drops sharply below 80% capacity. Plug in your device tonight; that dead battery won’t wait for convenient timing.
Pro tip: Recharge after every single use, even if you only made one successful start. Lithium-ion batteries degrade fastest when left partially discharged. Monthly top-offs during storage maintain peak performance—ignore this, and your unit might fail when temperatures drop below freezing. Always verify charge levels before road trips; a quick 30-second check prevents roadside panic.
Prepare Your Vehicle in 30 Seconds
Safety starts before touching clamps. Remove keys from the ignition and kill all electrical drains—headlights, radio, phone chargers, and interior lights. These accessories steal precious cranking power. Set automatic transmissions to “Park” or manual to “Neutral,” then engage the parking brake. This prevents accidental rolling while you’re focused on connections.
Critical mistake to avoid: Leaving accessories on during jump-starting. A single phone charger can drop voltage below the 2-volt threshold needed for the NOCO to engage. One user reported three failed attempts until they discovered their dashcam was still running. Take 15 seconds to verify complete electrical shutdown—your success depends on it.
Connect Clamps in Exact Order
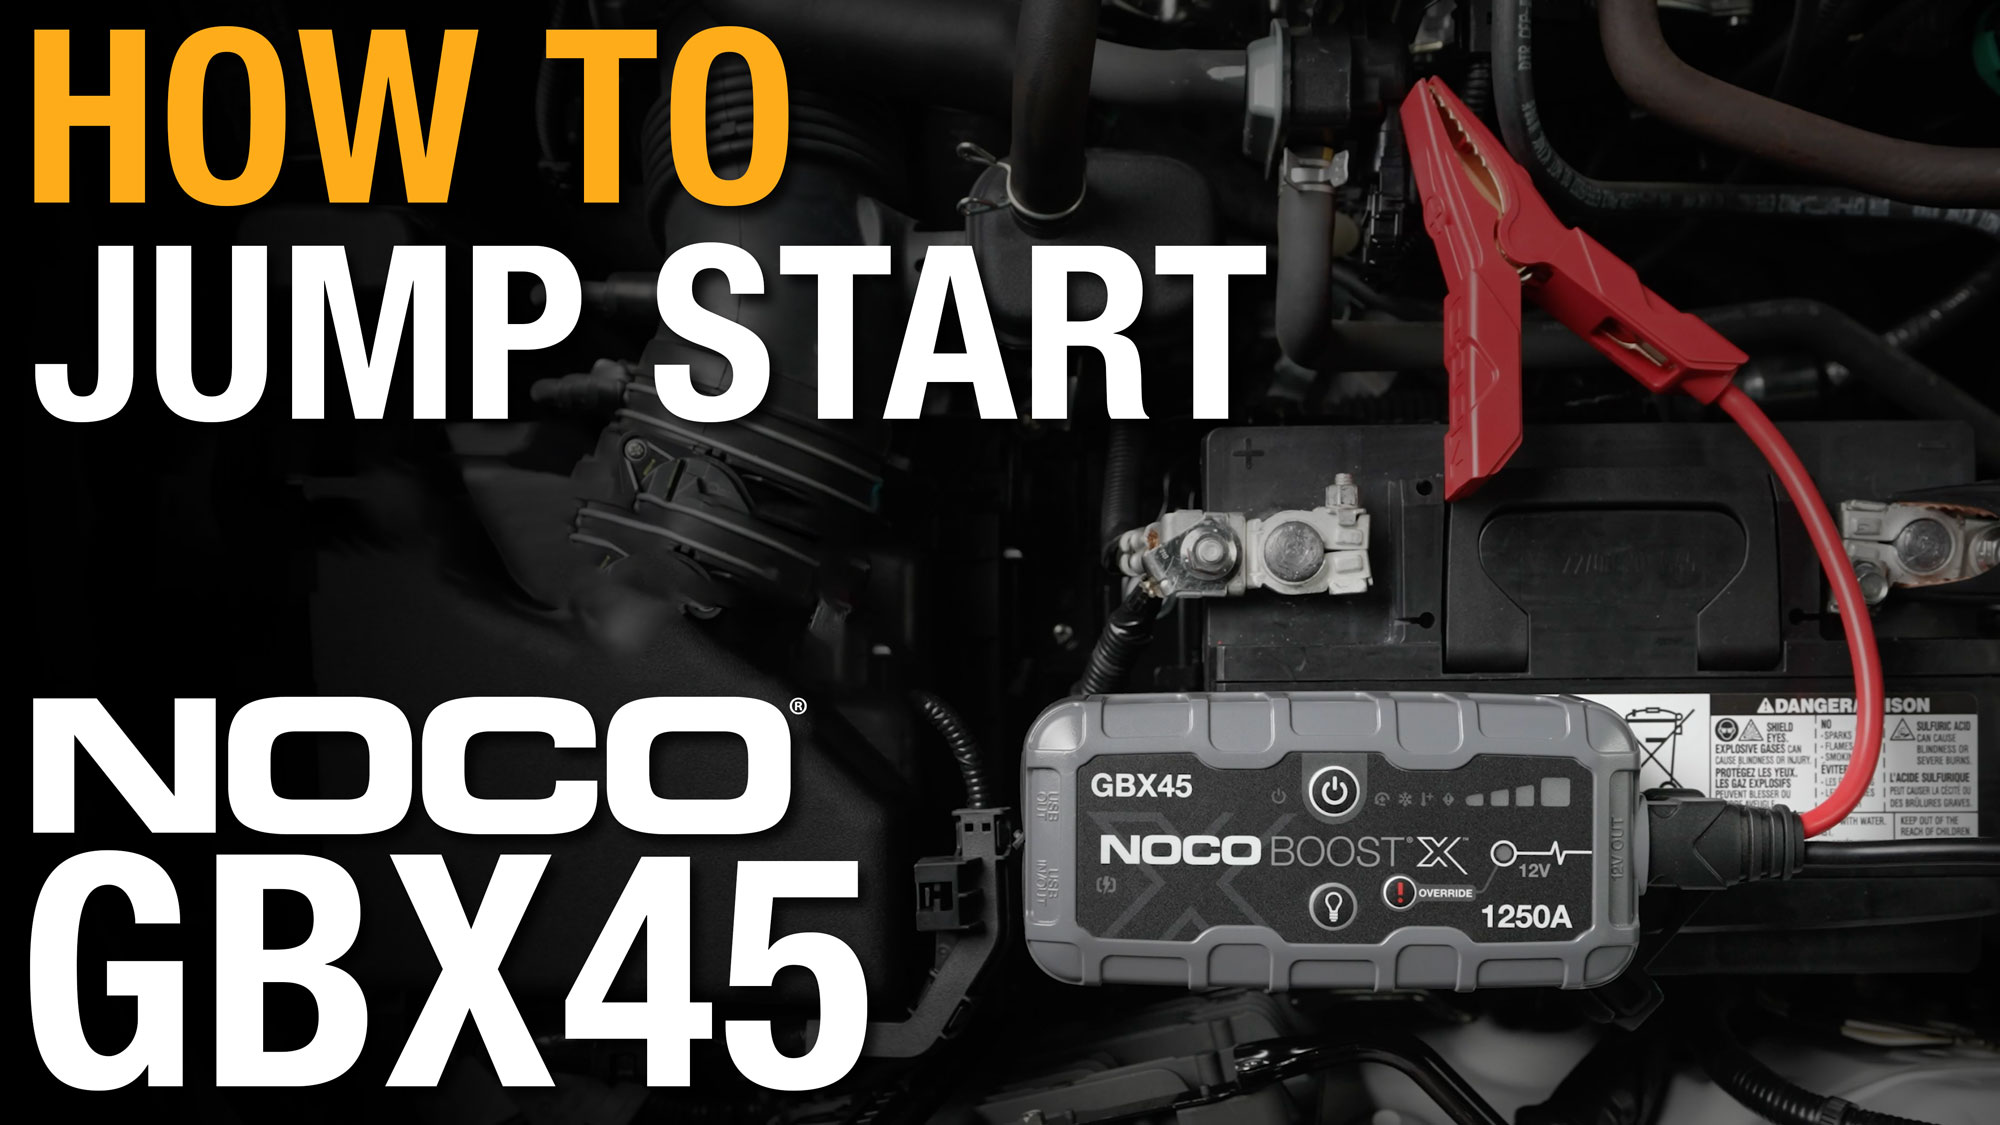
Red clamp first: Secure the red positive (+) clamp directly to the battery’s positive terminal. Look for the “+” symbol or red cable insulation. Wipe corrosion with a cloth if needed—the clamp must grip bare metal. A loose connection causes sparks and failed starts.
Black clamp placement: This is where 70% of users err. You have two choices:
– Direct method: Clamp to the negative (-) battery post (marked with “-” symbol)
– Safe method: Attach to any unpainted engine block bolt or metal bracket away from the battery
Always choose the engine block method unless your manual specifies otherwise. This prevents sparks near explosive battery gases—a critical safety step for older vehicles. Position yourself sideways to the battery while connecting; never lean directly over it.
Power On and Check Status Lights

Press and hold the power button for one second. Watch the LED patterns like a flight instrument panel—they dictate your next move:
- Solid white boost LED: Perfect connection—crank immediately
- Flashing white boost LED: Manual override active (use only for ultra-dead batteries)
- Solid red error LED: Reverse polarity—swap connections now
- Blinking red LED: Overheating—wait 2-3 minutes
Critical warning: If your battery reads below 2 volts, the boost LED won’t illuminate. Remove all electrical loads first. If still dark, hold the manual override button for 3 seconds—but understand this disables safety protections. Use this nuclear option only when stranded in dangerous conditions.
Start Your Engine Correctly
Turn the key to “ON” and crank immediately. Most vehicles fire within 3-5 seconds. If nothing happens, wait 10-30 seconds before retrying—this allows the NOCO’s capacitors to recharge. Never exceed five start attempts within 15 minutes; your unit needs cooldown time to prevent thermal shutdown.
Real-world insight: Diesel engines or cold-weather starts often require longer cranking (up to 30 seconds). One truck owner succeeded only after holding the key for 20 seconds during a -10°F emergency. If the engine cranks but won’t catch, your problem isn’t the battery—it’s fuel or ignition. Stop using the NOCO and call a mechanic.
Disconnect Safely After Success
Follow this reverse-order sequence to avoid sparks:
1. Remove black clamp first (from engine block or negative post)
2. Remove red clamp (from positive terminal)
3. Power off the NOCO with the button
4. Cover all ports with included caps
Let your vehicle idle for 10-15 minutes before driving. This recharges the battery enough to restart if you turn off the engine. Skipping this step risks another dead battery at your next stop.
Decode LED Light Patterns Quickly

| LED Pattern | Meaning | Action Required |
|---|---|---|
| Power LED solid white | Unit powered on | Normal operation |
| Boost LED solid white | Ready to start | Crank engine now |
| Boost LED flashing white | Manual override active | Use extreme caution |
| Error LED solid red | Reverse polarity | Swap red/black connections |
| Error LED blinking red | Overheating protection | Wait 2-3 minutes |
Memorize this chart—it’s your emergency cheat sheet. A flashing red error LED during use means internal components are too hot. Move the unit to shade or cooler pavement; never force continued use.
Use as Emergency Power Bank
Your NOCO doubles as a lifeline for dead phones. Connect devices to the USB OUT port, power on the unit, and monitor charge levels. Crucial rule: Never deplete below 50% capacity when charging phones. A GB70 at 30% might still jump-start your car but won’t recharge a modern smartphone. In one documented case, a user drained their NOCO completely charging a phone—then faced a dead car battery with no reserve power.
Store Your NOCO Properly
Store in a cool, dry place between -4°F and 122°F—never in glove compartments exposed to summer sun. Extreme heat degrades lithium-ion cells 3x faster. Before storage:
– Charge to 80-100% capacity
– Cover all ports with caps
– Check charge every 3 months
– Never store below 40%
A marine technician reported a NOCO failing after winter storage at 25% charge; the battery had entered deep discharge protection mode. Recharge annually even if unused—this simple step doubles device lifespan.
Troubleshoot Common Issues Fast
No boost LED with good connections: Your battery may be completely flat. Remove all electrical loads (even hidden ones like alarm systems) and retry. If still dark, use manual override—but only after verifying connections.
Engine cranks slowly then dies: This indicates a failing alternator, not battery issues. Your NOCO worked correctly; the vehicle needs professional diagnosis. Continuing jump attempts wastes precious charge cycles.
NOCO gets hot during use: Normal for large engines. Wait 2-3 minutes between attempts. If blinking red LED appears, move the unit to cooler ground immediately—never ignore overheating warnings.
Safety Rules That Matter
Never use your NOCO in rain or standing water. While water-resistant, moisture near electrical connections risks short circuits. Position yourself sideways to the battery—never directly above—to avoid injury if gases ignite. One user suffered minor burns after leaning over a battery during connection; the explosion propelled acid toward their face.
Temperature reality check: Performance plummets below 32°F. In freezing conditions, warm the NOCO in your pocket for 5-10 minutes before use. A construction worker succeeded only after warming his unit against his body during a -22°F emergency.
Choose Right Model for Your Vehicle
Match amps to your engine size:
– Compact cars: 1,000-amp models (up to 4.0L gas)
– Midsize trucks/SUVs: 2,000-amp GB70 (6.0L gas/3.0L diesel)
– Large diesels/RVs: 4,000+ amp GB150+
Critical verification: Confirm 24-volt compatibility if owning commercial trucks or military vehicles. Using a 12V-only model on 24V systems causes instant damage. When in doubt, choose one capacity level higher—oversizing prevents failure during critical moments.
Key takeaway: Mastering how to use NOCO Boost jump starter transforms panic into control. Charge fully before emergencies, follow the exact connection sequence, and respect the LED warnings. Store properly and maintain charge levels—this simple discipline ensures 5+ years of reliable service. Keep your unit accessible (not buried in the trunk), and you’ll never pay for roadside assistance again. For complex electrical issues beyond dead batteries, consult a professional—but with your NOCO skills, you’ve already conquered the most common roadside crisis.