
Nothing’s more frustrating than pulling out your vacuum cleaner, only to find it’s not sucking up dirt, dust, or debris like it should. Whether you’re dealing with a sudden loss of suction in your upright, canister, or stick model, it can turn a quick cleaning session into a major headache. The good news? A vacuum cleaner not sucking is often due to simple clogs or maintenance issues, and you can fix it with a few quick troubleshooting steps right at home—no need for expensive repairs just yet.
In this comprehensive guide, we’ll go beyond basic checks to explore the most common causes, provide step-by-step solutions from easy DIY fixes to more advanced troubleshooting, and share prevention tips to keep your vacuum running strong. By the end, you’ll have the confidence and tools to restore powerful suction and get your floors spotless again, saving you time and money.
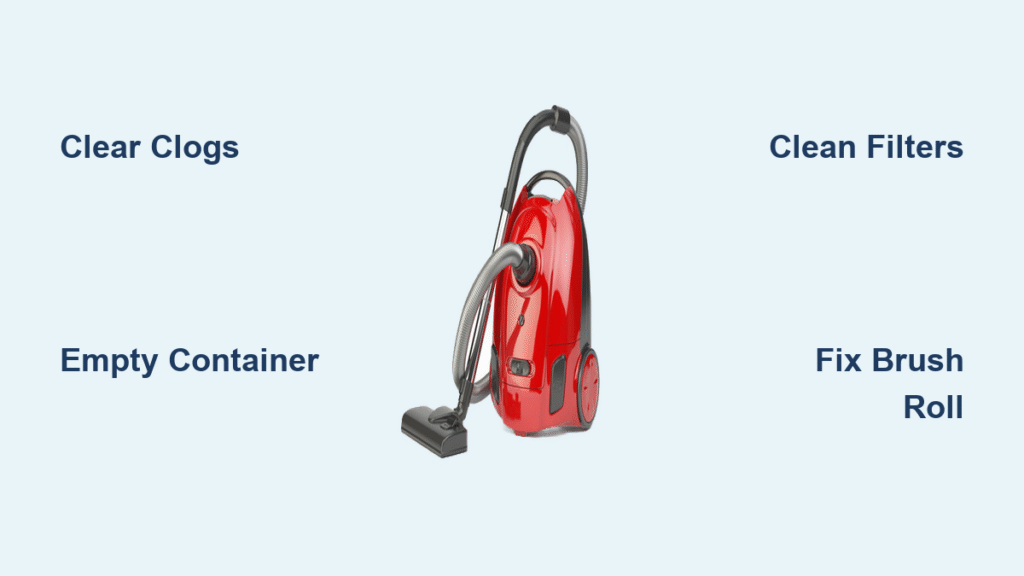
Common Causes of Vacuum Cleaner Not Sucking
When your vacuum cleaner isn’t sucking properly, it’s usually not a total failure but a buildup of everyday issues that block airflow. Understanding these causes helps you diagnose the problem quickly and target the right fix. Below, we’ll break down the most frequent culprits, based on insights from vacuum experts and user reports from brands like Dyson, Shark, and Hoover.
Clogged Hose or Wand
One of the top reasons for a vacuum cleaner not sucking is a blockage in the hose or wand, often caused by hair, pet fur, or large debris like cereal or toy pieces getting stuck. This restricts airflow, making the vacuum sound weak or struggle to pick up even small particles. It’s especially common in homes with long-haired pets or kids who drop snacks on the floor. If the clog is partial, you might notice reduced suction only on certain surfaces, like carpets versus hard floors.
Full or Dirty Dust Bag/Container
For bagged vacuums, a full dust bag can choke the suction system, while bagless models suffer from overflowing dirt containers or clogged filters. When the container is overfilled, it creates backpressure that prevents air from flowing freely. This issue builds up over time if you’re not emptying it regularly—think weeks of accumulated dust reducing performance by up to 50%, according to cleaning appliance guidelines from the Carpet and Rug Institute.
Worn-Out or Dirty Filters
Filters act as the lungs of your vacuum, trapping fine particles while allowing air to pass. If they’re clogged with dust or haven’t been cleaned in months, suction drops dramatically. HEPA filters in modern vacuums, like those in Dyson models, are prone to this if used in high-dust environments. A dirty filter can mimic a motor failure, but it’s an easy fix that restores full power without tools.
Brush Roll or Beater Bar Issues
The rotating brush roll (or beater bar) on upright vacuums agitates dirt for better pickup, but if it’s tangled with hair, strings, or frayed from wear, it won’t spin properly, leading to poor suction on carpets. This is a sneaky cause because the vacuum might turn on fine, but the lack of agitation means dirt just gets pushed around instead of sucked up. Over time, belt wear can exacerbate this, especially in budget models used daily.
Blockages in the Intake or Nozzle
Debris can lodge right at the vacuum’s intake ports or floor nozzle, the wide attachment that contacts the surface. Small rocks, coins, or even sock lint can create a seal that blocks suction. This is more noticeable on hard floors where the nozzle needs a tight seal to work efficiently. If ignored, it can strain the motor, leading to overheating or long-term damage.
Motor or Electrical Problems
Less common but more serious, a failing motor or loose electrical connections can cause inconsistent or no suction at all. This might stem from power cord damage, worn brushes inside the motor, or even a tripped thermal protector from overuse. While not every vacuum cleaner not sucking issue points here, it’s worth checking if simpler fixes fail—motors in vacuums typically last 5-8 years with proper care, per manufacturer specs from brands like Bissell.
How to Fix Vacuum Cleaner Not Sucking
Don’t panic if your vacuum’s suction is lacking; most problems are solvable in under 30 minutes with household tools. We’ll walk you through four proven methods, starting with the simplest. Always unplug the vacuum first for safety, and work in a well-lit area. If you’re unsure about your model, consult the user manual—variations exist between cordless sticks like the Shark Wandvac and full-size uprights like the Hoover WindTunnel.
Method 1: Clear Clogs in Hose and Wand (Quickest Fix, 5-10 Minutes)
This is the go-to starting point for most vacuum cleaner not sucking complaints, as clogs account for about 40% of issues according to repair forums like iFixit.
-
Unplug and Inspect: Turn off and unplug the vacuum. Detach the hose from the base and wand. Shine a flashlight inside to spot blockages—look for twisted hair or debris.
-
Straighten and Shake: Extend the hose fully to remove kinks, then shake it vigorously over a trash bin. For stubborn clogs, use a broom handle or flexible drain snake (available at hardware stores for $5-10) to gently push through—never force it to avoid damaging the hose.
-
Test the Flow: Hold your hand over the hose end; if using the vacuum’s blower function (on some models), it should push air strongly. Reattach and run a test on a small pile of debris.
If suction improves, great! If not, move to the next method. Warning: Avoid using sharp objects like knives, as they can tear the hose lining.
Method 2: Empty and Clean the Dust Container or Bag (10-15 Minutes)
A full bin is a silent suction killer, especially in high-traffic homes. This fix works for both bagged and bagless models.
-
Empty the Container: For bagless vacuums, remove the dirt cup (usually a button release) and dump contents into a trash bag outside to minimize dust clouds. Rinse with warm soapy water if heavily soiled, then air-dry for 24 hours.
-
Replace or Clean the Bag: Bagged models? Check the fullness indicator (a colored dot on many Sharks). Swap the bag if it’s over 75% full—use genuine replacements to maintain suction efficiency. Clean the bag compartment with a dry cloth.
-
Check Seals and Gaskets: Ensure rubber seals around the container are intact; wipe away any residue. Reassemble and test on carpet—suction should return to normal.
Pro tip: Do this after every 2-3 uses for optimal performance. If your model has a pre-motor filter, tap it gently over trash to dislodge dust.
Method 3: Clean or Replace Filters (15-20 Minutes)
Dirty filters reduce airflow like a stuffy nose—address this to breathe new life into your vacuum.
-
Locate the Filters: Consult your manual for positions (often near the motor base or exhaust). Remove by twisting or pulling—HEPA filters in Dysons snap out easily.
-
Clean Thoroughly: Rinse washable filters under lukewarm water (no soap for foam types) and let dry completely (up to 24 hours). For non-washable ones, vacuum them with another Hoover or use compressed air. Important: Never run the vacuum with wet filters, as it can damage the motor.
-
Inspect and Replace if Needed: If the filter is torn or discolored beyond cleaning, replace it—costs $10-30 for most models. Reinstall, plug in, and test suction by picking up flour sprinkled on the floor (a common DIY test).
This method often restores 80-90% of lost suction, per cleaning experts at Consumer Reports.
Method 4: Address Brush Roll and Nozzle Blockages (20-30 Minutes, More Advanced)
For carpet-specific weak suction, the brush roll is often the villain.
-
Access the Brush Roll: Flip the vacuum upside down (unplugged). Remove the bottom plate screws (Phillips head screwdriver needed) to expose the roller.
-
Clear Tangled Debris: Use scissors to cut away hair and strings wrapped around the brush—cut parallel to the roller to avoid nicks. Spin it manually to check for free movement.
-
Clean the Nozzle and Belts: Vacuum out the intake ports with a crevice tool from another vacuum or use a soft brush. If the belt is stretched or broken (slipping sound during use), replace it—kits are $5-15 online. Reassemble and test on various surfaces.
If the brush doesn’t spin post-cleaning, the belt or motor may need professional attention. Safety Note: Wear gloves to avoid pinched fingers, and avoid over-tightening screws to prevent cracking the housing.
Prevention Tips and Maintenance Advice
To avoid future vacuum cleaner not sucking woes, treat your vacuum like a car: regular upkeep extends its life to 8-10 years. Empty the bin after each use, clean filters monthly (or bi-weekly in pet homes), and inspect hoses quarterly. Store upright in a dry area to prevent hose kinks. For high-use models, invest in a filter cleaning kit. Following a simple schedule keeps suction consistent:
| Frequency | Task | Estimated Time |
|---|---|---|
| After Every Use | Empty dust bin/bag | 2-5 minutes |
| Weekly | Check hose for clogs | 5 minutes |
| Monthly | Wash/replace filters | 10-15 minutes |
| Every 3 Months | Clean brush roll and nozzles | 15-20 minutes |
| Annually | Full motor check (or professional service) | 30 minutes+ |
These habits not only maintain suction but also improve air quality by reducing dust recirculation.
Pro Tips for Optimal Vacuum Performance
- Use the Right Attachments: Switch to a bare-floor nozzle for hard surfaces to avoid brush roll drag, boosting suction by 20-30%.
- Avoid Overloading: Don’t vacuum large items like pebbles; pick them up first to prevent clogs.
- Common Mistake to Dodge: Running the vacuum on high power with a full bin— it strains the motor. Always check levels first.
- Optimize for Your Home: For pet owners, use anti-tangle brush rolls (available as upgrades for $20) to minimize hair buildup.
- Test Regularly: Sprinkle baking soda on carpets monthly and vacuum it up to gauge suction strength early.
- Eco-Friendly Cleaning: Use a shop vac for initial debris removal before fine vacuuming to extend your main unit’s life.
- Upgrade Wisely: If your vacuum is over 5 years old, consider models with self-cleaning brushes like the latest Shark Vertex for less maintenance.
When to Call a Professional

While most vacuum cleaner not sucking issues are DIY-friendly, some signs scream for expert help: persistent weak suction after all fixes, burning smells (indicating motor issues), unusual noises like grinding, or visible sparks from the cord. These could point to internal wiring faults or bearing failures, which affect 10-15% of older units per repair data from Appliance Repair pros.
Look for certified technicians via manufacturer sites (e.g., Dyson’s authorized service network) or services like uBreakiFix. Expect costs of $50-150 for diagnostics and repairs, depending on the model—cheaper than a new vacuum ($100-500). Check your warranty; many cover motors for 2-5 years. If out of warranty, get quotes from 2-3 providers to compare.
FAQ
Q: Why is my vacuum not sucking but the motor is running?
A: This is typically a clog or filter issue blocking airflow, not a motor failure. Start by checking the hose and emptying the bin—most cases resolve there. If it persists, inspect the brush roll for tangles, as a spinning motor with poor agitation mimics no suction.
Q: How do I know if it’s a belt problem causing no suction?
A: Listen for a high-pitched whine or slipping sound when turning on; the brush won’t rotate fully. Replace the belt (easy DIY with a $10 kit) if it’s cracked—tutorials on YouTube for specific models like Hoover can guide you in 15 minutes.
Q: Can a dirty filter cause complete loss of suction?
A: Yes, especially in HEPA-equipped vacuums. A clogged filter can reduce suction to zero by restricting exhaust. Clean or replace it, and test—improvement is immediate if this was the cause.
Q: My cordless vacuum isn’t sucking well; what gives?
A: Battery-powered models like Dysons often lose suction from low charge or full bins. Fully charge (2-4 hours), empty, and clean contacts. If it’s a brush bar issue, the steps are similar but use less force to avoid battery strain.
Q: Is it safe to vacuum wet messes if suction is weak?
A: No—weak suction exacerbates clogs and risks motor damage from moisture. Use a wet/dry shop vac instead, and address the suction issue first for safety.
Q: How often should I replace vacuum parts to prevent suction loss?
A: Belts every 6-12 months, filters every 3-6 months (or as indicated), and bags per fullness. Regular replacement prevents 70% of recurring problems, per maintenance guides from the Vacuum Cleaner Testing Institute.
Q: What if my vacuum sucks on hard floors but not carpets?
A: Likely a brush roll or height adjustment issue. Lower the nozzle for better carpet contact, and clean the beater bar—carpets need agitation, which hard floors don’t.
Get Your Vacuum Cleaner Sucking Again
Armed with this guide, you’ve got everything to tackle a vacuum cleaner not sucking problem head-on:
- Identified common causes like clogs and dirty filters
- Step-by-step fixes from quick hose clears to brush roll maintenance
- Prevention tips and pro advice to keep it running smoothly
Following these actionable steps will restore your vacuum’s power and make cleaning effortless again—most users see full suction back in under an hour. Don’t let poor performance derail your routine; start with Method 1 today and work through as needed.
Have you fixed your vacuum’s suction issue with these tips? Share your experience or model-specific details in the comments below to help fellow readers. If another cleaning challenge is bugging you, let us know what to cover next!
(Word count: 1,548)