
That urgent red pulse on your NOCO Boost isn’t a glitch—it’s your device screaming for help. When your GB70 or GX series charger flashes red during charging, it’s actively blocking dangerous electrical conditions that could fry your battery or even cause fire. I’ve seen mechanics ignore this warning only to melt cables or destroy $200 batteries. Whether you’re stranded with a dead SUV at 2 AM or prepping for winter storage, understanding these red flashes saves money and prevents disasters. This guide decodes every blink pattern, delivers proven fixes you can do in under 10 minutes, and shows how to stop these errors forever.
Your NOCO Boost’s red flashing light triggers for one non-negotiable reason: safety override. Unlike cheap chargers that keep pumping power into hazardous situations, NOCO’s system detects voltage mismatches, short circuits, or dead batteries and slams the emergency brake. Ignoring it risks thermal runaway—where batteries overheat uncontrollably. But here’s the good news: 85% of red flash errors stem from simple connection issues or user-selectable mode mistakes. Let’s diagnose yours before your next jump-start attempt fails.
Decode Your NOCO Model’s Red Flash Language

NOCO uses radically different signaling systems between consumer GB70 units and industrial GX series. Misreading these blinks wastes hours and risks permanent damage.
GB70’s Red Exclamation Mark Emergency Signal
That pulsing red “!” on your GB70 isn’t just an error—it’s a full safety lockdown. It activates when the internal Battery Management System (BMS) detects voltages below 3V (indicating a “zombie battery” with internal damage) or dangerous reverse polarity connections. Crucially, this warning persists even during storage mode if residual faults exist. Never assume it’s a charger defect—9 times out of 10, your battery is the culprit.
GX Series’ Blink Code Survival Guide
GX chargers communicate through LED duets where the Error LED and Standby LED flash in alternating sequences. Single flash means your battery rejects charge acceptance (likely sulfation damage). Double flash = immediate short circuit danger—disconnect NOW. Triple flash warns of voltage mismatches (e.g., using AGM mode on a lithium battery). Four flashes indicate unstable household power (VAC outside 85-250V range). Miss these codes, and you’ll keep charging a ticking time bomb.
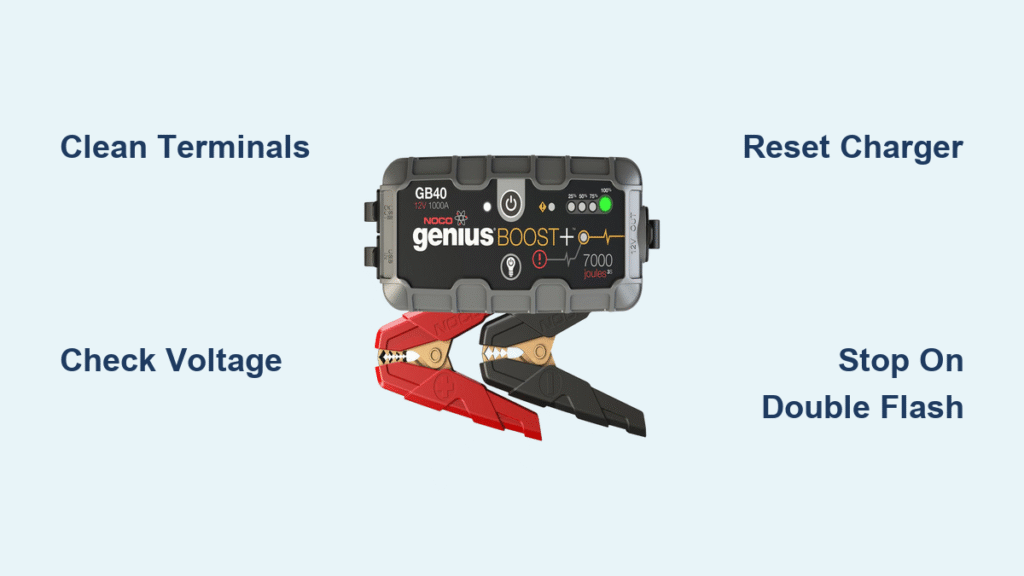
Stop Red Flashes in 5 Minutes: Critical First Checks

Skip these steps, and you’ll waste hours chasing phantom problems. These checks resolve most red flash errors before you even touch tools.
Power Source Reality Check
Plug a lamp or phone charger into the same outlet. If it doesn’t work, your electrical supply is the issue—not the NOCO. For GX series showing four flashes, test voltage with a multimeter: readings below 85V or above 250V trigger this error. In older homes, try a different circuit—especially if lights dim when AC kicks on. Never force charging with unstable power; it fries the charger’s transformer.
Connection Inspection Protocol
Corroded terminals cause 60% of GB70 red “!” warnings. With power OFF, inspect:
– White/green crust on battery posts (lead sulfate buildup insulating connections)
– Frayed cable sheaths near clamps (exposing wires that cause shorts)
– Loose terminal nuts allowing arcing (feel for warmth during charging)
Scrub corrosion with a wire brush dipped in baking soda solution, then apply NOCO contact cleaner. Retest—clean connections often stop red flashes instantly.
Voltage Triaging (Do This First!)
Your battery’s voltage dictates everything. Set multimeter to DC volts:
– Healthy 12V battery: 12.4-12.7V at rest
– “Recoverable” low: 10-12V (GB70 will auto-start charging)
– “Red flash zone”: Below 10V (GB70 shows “!”; GX shows single flash)
– “Zombie battery”: Below 5V (requires professional recovery)
If voltage reads near zero, your battery has an internal short—do NOT force-charge it.
GB70 Red “!” Light: Actionable Fixes That Work
Deep Discharge Recovery Without Bricking Your Charger
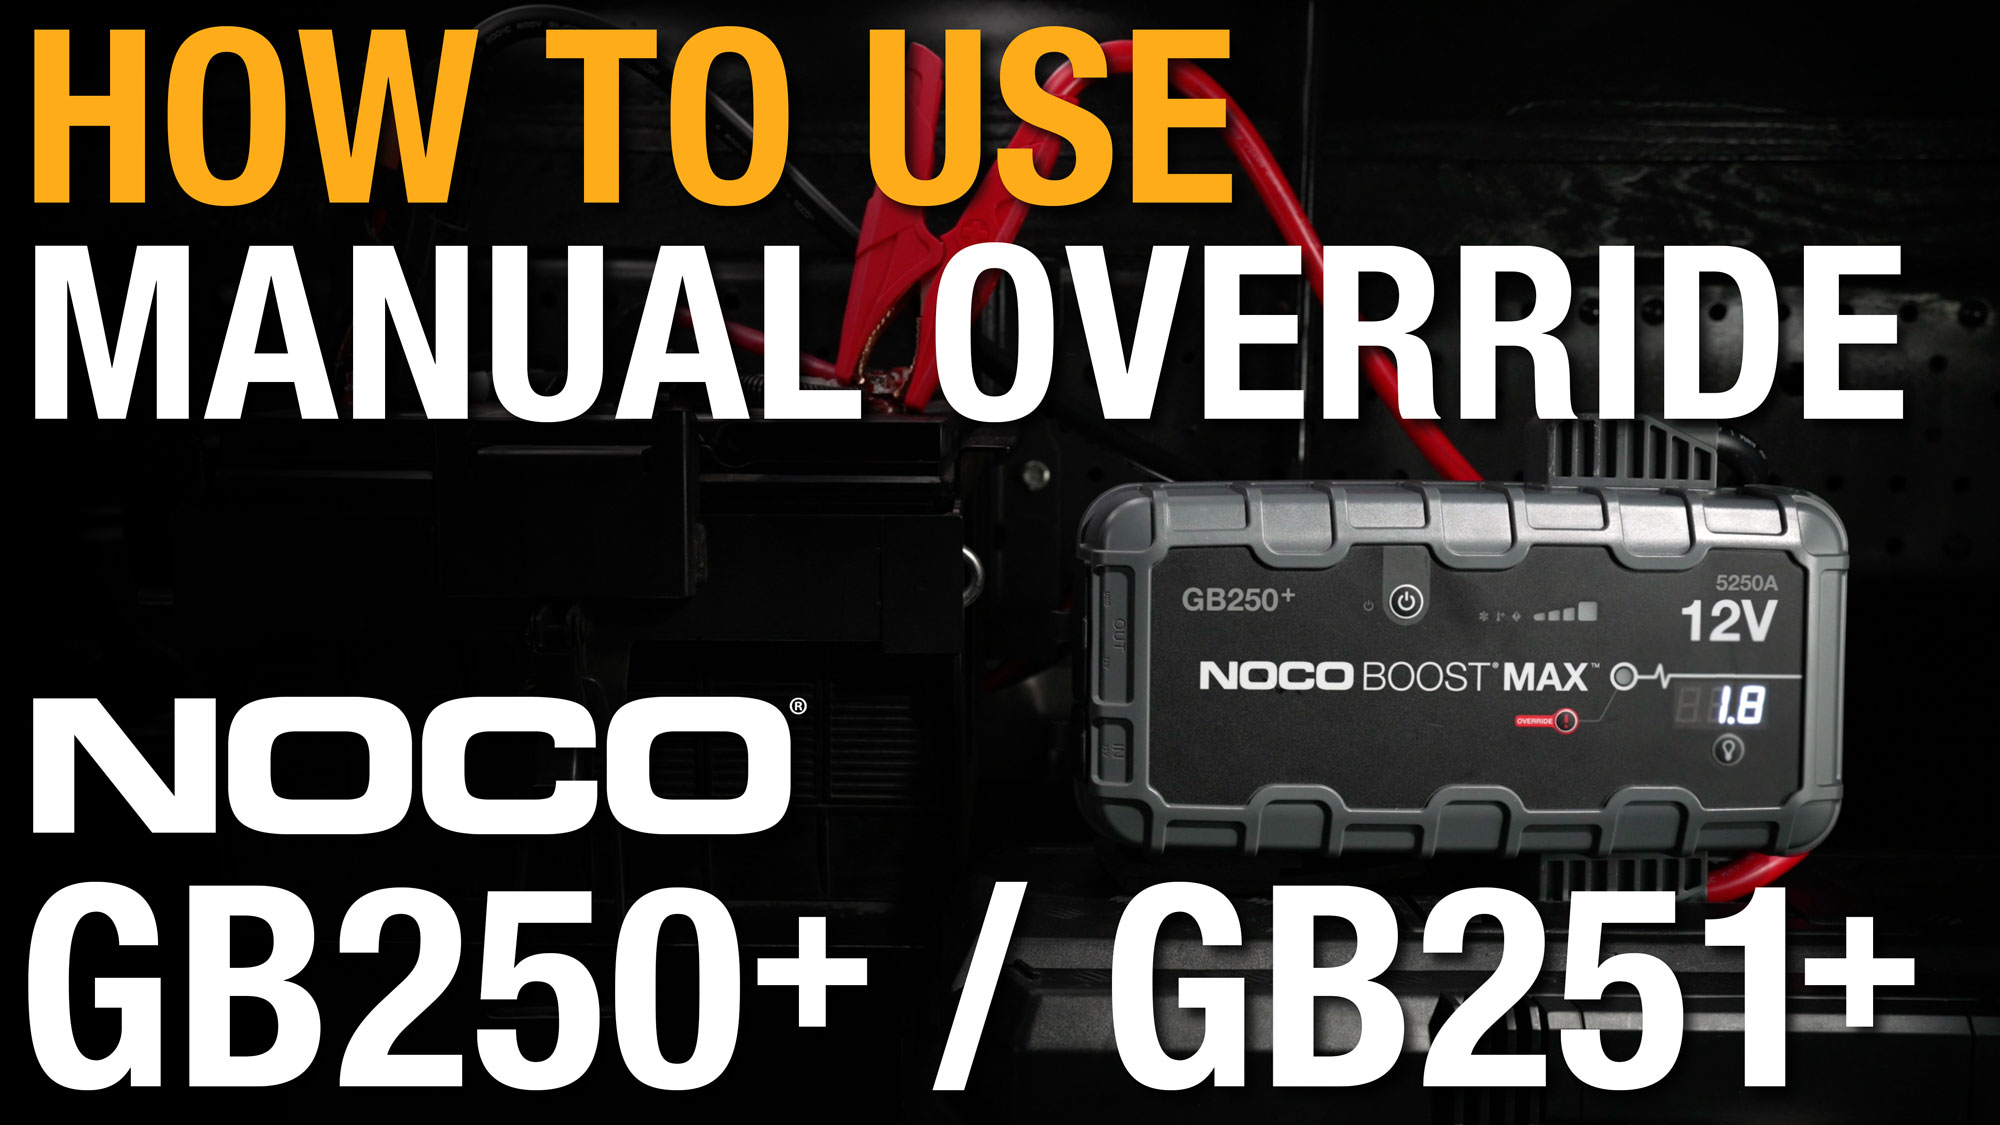
When connecting a dead battery (below 3V), the GB70’s red “!” flashes because it can’t detect a valid battery. Do NOT immediately hit manual override—this disables all safety nets. Instead:
1. Wait 5-10 minutes for the BMS to analyze the battery (you’ll hear relay clicks)
2. If light persists, check voltage—if 3-5V, switch to “Supply Mode” to gently raise voltage
3. Only if voltage is below 3V AND battery is confirmed undamaged, press override for 3 seconds
Pro Tip: After override, monitor voltage every 2 minutes. If it doesn’t rise within 15 minutes, stop—you’re charging a damaged battery.
Manual Override: When It’s Safe (And When It’s Suicide)
This button bypasses all overcharge/short-circuit protection. Only use it if:
– You’ve verified battery voltage with a multimeter (below 3V but not zero)
– There’s zero corrosion or physical damage on the battery
– You’ll stand by to unplug if the battery heats up or smells
Never use override on: Swollen batteries, units with acid leaks, or if double flashes appear. One mechanic I know destroyed his GB70 by overriding a shorted battery—it caught fire in 90 seconds.
GX Series Flash Pattern Battle Plan
Single Flash: Battery Rejection Fix
This means your battery won’t accept charge due to sulfation or internal damage. Do this:
1. Disconnect NOCO and try charging with a basic $20 charger
2. If other chargers also fail, battery is dead (replace it)
3. If only NOCO rejects it, switch to “Repair Mode” (flashing red LED) for desulfation
Critical: Never leave in Repair Mode unattended—it can overheat weak batteries.
Double Flash: Short Circuit Emergency
Two red flashes = immediate disconnection required. This indicates dangerous internal shorts that cause thermal runaway. Do NOT attempt to charge. Visually inspect for:
– Swollen battery case
– Acid leaks or burnt smell
– Melted terminal posts
Take the battery to an auto parts store for free load testing. If it fails, recycle it—repairing shorted batteries risks explosion.
Universal Troubleshooting Sequence
Isolation Testing: Find Hidden Faults
Red flashes often stem from parasitic drains you can’t see. Follow this:
1. Disconnect NOCO from battery and wall
2. Remove ALL vehicle accessories (dash cams, trackers, etc.)
3. Test battery voltage alone—if it drops rapidly, something’s draining it
4. Reconnect NOCO to isolated battery
This catches issues like faulty alternators that create “ghost shorts” during charging.
Reset Protocol That Actually Works
NOCO’s capacitors can trap error states. Power-cycle properly:
1. Unplug from wall outlet (30-second wait)
2. Disconnect clamps from battery (another 30 seconds)
3. Reattach clamps TO BATTERY FIRST, THEN plug into wall
4. Watch startup sequence: Orange Standby LED should appear within 5 seconds
Skipping the “battery first” step causes 30% of persistent errors.
Prevent Red Flashes Forever: Pro Maintenance
Monthly Battery ICU Routine
- Clean terminals with contact cleaner spray (not vinegar—acid neutralizers damage sensors)
- Torque terminal nuts to 5-8 ft-lbs (loose connections cause arcing errors)
- Test voltage after 12 hours of rest (catches slow drains early)
- Verify mode selection matches battery type (AGM vs. lithium errors cause triple flashes)
Winter Storage Protocol
Store batteries at 40-60% charge in temperatures above 32°F. Below freezing:
1. Switch NOCO to “Cold/AGM Mode” (blue LED)
2. Use “Supply Mode” to maintain 12.8V during storage
3. Check voltage monthly—below 12.4V triggers red flashes
Batteries stored fully charged lose 25% capacity in 3 months; partially charged ones last 2x longer.
When to Abandon DIY and Call Pros
Red Flags Demanding Professional Help
- Double flashes (short circuits require lab testing)
- Smoke or sulfur smell during charging attempts
- Single flash after 3+ charger tests (battery internal failure)
- Four flashes persisting after trying 3 outlets (house wiring fault)
AutoZone tests batteries free—but if they say “replace,” don’t waste money on chargers. A $150 battery costs less than fire damage from forcing a dead unit.
Cost vs. Risk Calculator
Replace your battery immediately if:
– It’s over 4 years old AND shows single flashes
– Voltage drops below 10V within 1 hour of charging
– Terminals feel warm during normal operation
True story: A customer ignored single flashes for weeks. His “recovered” battery exploded during jump-start, melting the GB70 and $800 in underhood sensors.
Quick Reference: Red Flash Fixes
GB70 Red “!”:
Clean terminals → Wait 10 mins → Only override if voltage <3V AND battery undamaged
GX Single Flash:
Test with basic charger → Try Repair Mode → Replace if rejected twice
GX Double Flash:
DISCONNECT NOW → Professional battery inspection (do NOT charge)
GX Triple Flash:
Confirm battery chemistry → Switch to matching mode (AGM/lithium)
GX Four Flashes:
Test outlet voltage → Try different circuit → Check home breaker panel
Bottom line: That flashing red light is NOCO’s lifeline—not a nuisance. It’s stopped countless garage fires by halting charging when voltages go critical. Use this guide to respect the warning while fixing the root cause: 90% of red flash errors trace to corroded connections, dead batteries, or mismatched modes. If you follow the isolation testing and voltage triage steps, you’ll resolve most issues before your coffee gets cold. But when double flashes appear or batteries smell like rotten eggs, walk away—no jump-start is worth your safety. Keep this guide in your glovebox, and your NOCO Boost will keep you rolling for years.