
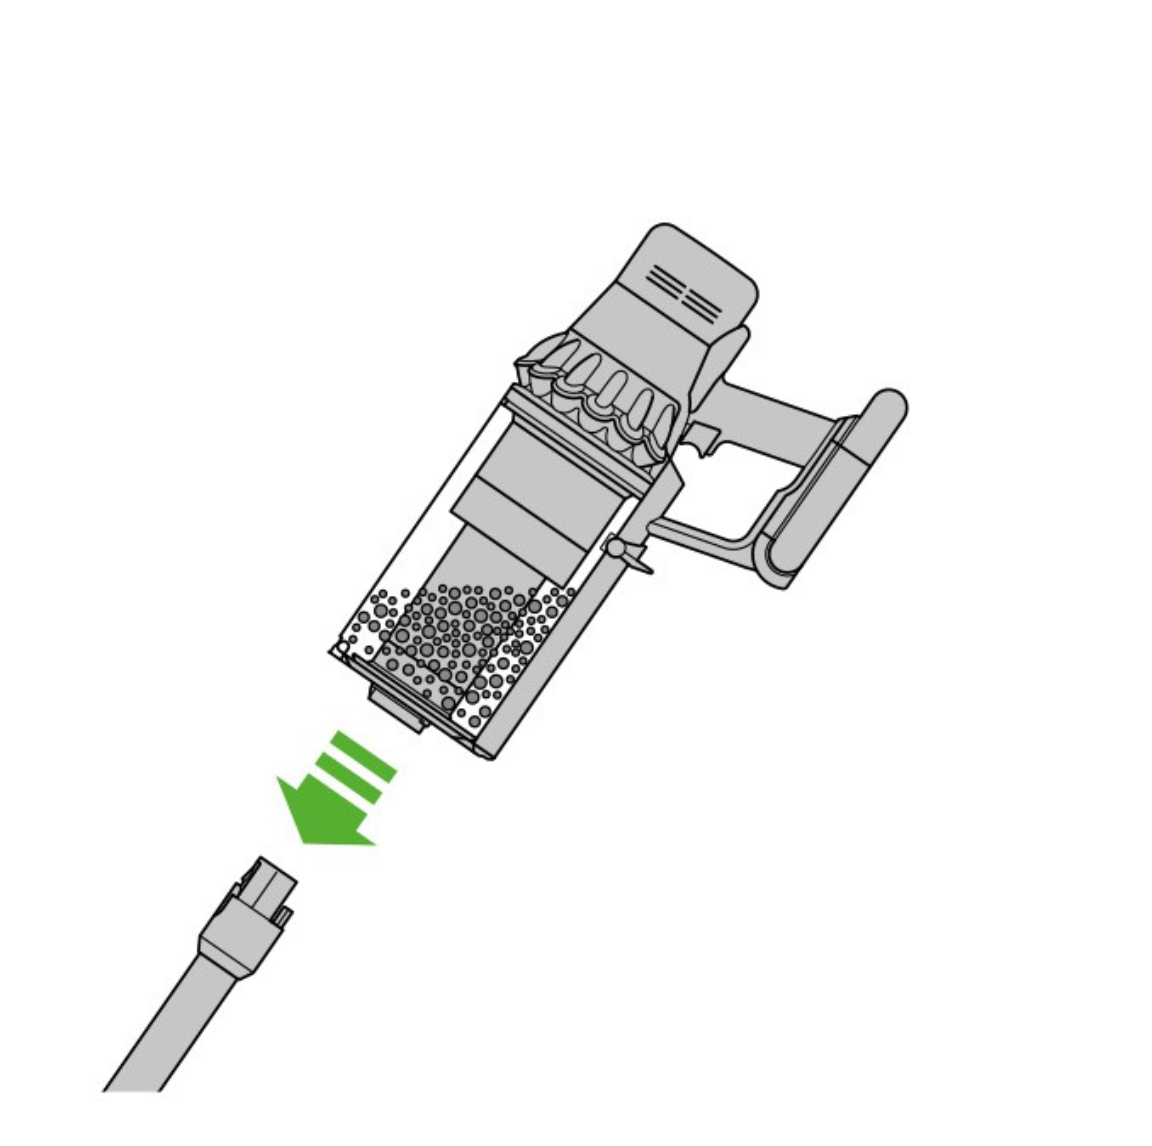
If your Dyson vacuum wand will not release, you’re not alone—and it’s frustrating when a simple cleanup turns into a tug-of-war with the wand. The quick fix most users find success with is pressing and holding the wand release button firmly while gently twisting the wand to break any debris or suction lock. If the button feels stuck, a small amount of silicone spray on the mechanism (applied carefully) can help free it.
In this guide, you’ll get step-by-step solutions for different Dyson models (V7, V8, V10, V11, V15, Ball/Animal upright models, and canisters). We’ll cover the most common causes, multiple methods to free a stuck wand, how to avoid breaking the release tab, and what to do if your wand or release button is damaged. By the end, your Dyson wand should release smoothly—and you’ll know how to prevent this from happening again.
Common Causes of a Dyson Wand Not Releasing

- Debris jam in the release latch: Dust, hair, and grit can clog the button mechanism or latch tabs.
- Suction lock/vacuum seal: Air pressure or a tight fit creates a seal between the wand and main body.
- Misalignment: Wand isn’t square to the port; the latch can’t disengage fully.
- Worn or bent latch: The plastic tab or button is deformed and won’t retract.
- Corrosion or sticky residue: Cleaning products, spills, or humidity cause the button to stick.
- Damage from force: Excessive pulling without pressing the button can warp the connector.
- Model-specific tight tolerances: Some V-series wands and older uprights have tighter couplings that bind under heat or heavy use.
How to Fix a Dyson Vacuum Wand That Will Not Release
Method 1: Basic Release Technique (Quick Fix)
Best for: Suction lock or slight misalignment
Time: 2–5 minutes
Tools: None
Diagnosing the Issue
- Button moves, but wand won’t slide out: likely suction lock or misalignment.
- Button feels spongy or stuck: debris in the latch.
Fix Steps
- Power off and unplug or remove the battery.
- Press and hold the wand release button firmly.
- With your other hand, gently twist the wand back and forth while pulling straight out.
- If the wand is vertical, lay the vacuum on its side for better leverage and alignment.
- Lightly tap near the latch area with your palm to loosen grit (do not hammer).
Testing
- Reinsert the wand until it clicks. Press release and remove to confirm smooth action.
Method 2: Clear the Release Button/Latch Area
Best for: Sticky or jammed release button
Time: 10–15 minutes
Tools: Soft brush, compressed air, isopropyl alcohol (70–90%), microfiber cloth, silicone spray (optional)
Diagnosing the Issue
- Button doesn’t fully depress or feels gritty.
- You can see dust/hair buildup around the latch opening.
Fix Steps
- Safety first: Power off and remove battery (cordless) or unplug (corded).
- Use a soft brush or toothbrush to loosen debris around the button and latch slot.
- Blow compressed air lightly into the latch opening and around the button.
- Dampen a microfiber cloth with isopropyl alcohol and wipe around the button edges. Do not flood the area.
- If still sticky, apply a tiny amount of dry silicone spray to a cotton swab and touch only the button’s perimeter and the visible latch tab. Avoid oils like WD-40—they attract dust.
- Press the button repeatedly to work the mechanism, then try releasing the wand again while twisting.
Testing
- After cleaning, the button should travel fully and spring back. If it’s still sluggish, repeat with more careful debris removal.
Method 3: Reduce Suction Lock and Thermal Bind
Best for: Tight fit, heat expansion, or vacuum seal
Time: 5–10 minutes
Tools: Dry cloth, optional rubber gloves for grip
Diagnosing the Issue
- Wand was working but stuck after long use.
- Warm to the touch; plastic may have expanded slightly.
- Release button works normally.
Fix Steps
- Let the vacuum cool for 10–15 minutes.
- Grip the wand near the connector using rubber gloves for better traction.
- Press and hold the release button.
- Pull straight out while gently twisting. Avoid side bending that can stress the latch.
- If needed, lightly wiggle the main body while pulling the wand.
Testing
- Reattach and remove to check if thermal expansion was the cause.
Method 4: Deep Clean and Inspect the Connector and Latch
Best for: Repeated sticking or visible damage
Time: 20–30 minutes
Tools: Soft brush, isopropyl alcohol, cotton swabs, flashlight, fine sandpaper (1000–2000 grit, optional), replacement wand or latch if damaged
Diagnosing the Issue
- You can’t get the wand off with gentle methods.
- Visible burrs, rough edges, or warped plastic at the connector.
- Button moves fully but latch doesn’t retract.
Fix Steps
- If you can release the wand after Methods 1–3, proceed. If not, skip to Method 5.
- Inspect the male and female connectors and the latch tab with a flashlight.
- Clean both surfaces with alcohol and a swab to remove sticky residues.
- Check for plastic burrs or rough spots. If minor, lightly polish with ultra-fine sandpaper to remove the burr—do not change the shape.
- Wipe clean and dry thoroughly.
- Apply a tiny amount of dry silicone to the mating surfaces (not inside electrical contacts).
- Reattach and remove to confirm smooth release.
Testing
- The wand should click in and release with moderate pressure. If it still binds, the latch may be bent or cracked.
Method 5: Last-Resort Removal (Stuck Wand That Won’t Release)
Best for: Severely jammed latch or damaged release tab
Time: 10–20 minutes
Tools: Plastic pry tool (spudger), thin nylon zip tie or feeler gauge, flashlight
Warning: Proceed carefully to avoid breaking the latch or housing. If under warranty, consider contacting Dyson first.
Fix Steps
- Power off and disconnect power/battery.
- Press and hold the release button.
- Slide a thin nylon zip tie or feeler gauge between the wand and the main body at the latch location to manually depress or lift the latch tab.
- While keeping pressure on the latch with the tool, pull the wand straight out with controlled force.
- Do not use metal screwdrivers that can mar plastic or snap the latch.
Testing
- Once removed, inspect the latch and replace the wand or latch assembly if deformed.
Model-Specific Notes

Dyson V7, V8, V10, V11, V15 (Cordless)
- The wand release button is typically red and on the main body where the wand inserts.
- These models can develop suction lock if the bin is overfilled or filters are clogged. Empty the bin and clean the filter to reduce internal pressure.
- If your V-series wand sticks at the floor tool instead: press the red button on the tool neck while twisting the wand counter-clockwise and pulling straight off.
Dyson Ball/Animal Uprights (e.g., DC41, Ball Animal 2, Multi Floor)
- The extension wand often docks into the handle or hose. Release buttons may be on the handle or at the hose cuff.
- For uprights with hose/wand coupling, retract the wand fully, press the release, then pull straight up. If the hose is under tension, detach the hose from the base first to ease stress.
Dyson Canisters (e.g., Cinetic Big Ball)
- Check the quick-release cuff at the hose end. Hair wraps can block the release clip. Clean around the cuff and press both side tabs simultaneously.
Prevention Tips and Maintenance Advice
- Keep the latch area clean: After emptying the bin, wipe around the wand connector and button.
- Avoid oils: Use dry silicone spray sparingly; oils attract dust and worsen sticking.
- Don’t force it: Always press and hold the button fully before pulling.
- Align carefully: Insert and remove the wand straight, avoiding side loads on the latch.
- Manage heat: Let the vacuum cool after long runs before disassembly.
- Maintain airflow: Empty the bin at the MAX line and wash filters regularly to reduce suction lock.
- Inspect for wear: If the red button or latch tab shows whitening, cracks, or deformation, replace before it fails.
Pro Tips
- Use rubber-palmed gloves for extra grip without over-tightening your pull.
- Mark the latch side with a small piece of tape so you know exactly where to twist and support.
- If compressed air isn’t available, a bicycle hand pump with a thin nozzle can blow out debris safely.
- Keep replacement seals/gaskets dry; moisture can increase stickiness and bind the connector.
- For cordless models, removing the wand with the bin open slightly can relieve internal pressure—just avoid spilling dust.
- Store the vacuum on its dock with the wand clean; grit on the docking area often transfers to the latch.
- Avoid side torque on the wand when moving furniture; cumulative stress can warp the connector over time.
When to Get Professional Help
- The release button doesn’t move or springs poorly after cleaning.
- You hear cracking when pressing the button or see a broken latch tab.
- The wand or main body connector is visibly warped or split.
- The wand only releases with excessive force every time.
- The vacuum is under warranty—Dyson may replace the wand, latch, or main body coupling.
What to look for in a service provider:
– Dyson-authorized repair center or Dyson Support.
– Familiarity with your exact model (e.g., V8 vs. V10 coupler differences).
– Warranty coverage confirmation and parts availability.
Typical costs:
– Replacement wand: $40–$120 depending on model and color.
– Latch/button assembly (if separable): $10–$30.
– Service labor (out of warranty): $40–$100.
Warranty considerations:
– Forcing or prying damage may void coverage. Document the issue and contact Dyson first if in doubt.
FAQ
Q: Why does my Dyson wand get stuck after long cleaning sessions?
A: Heat causes minor expansion of plastic parts, tightening tolerances. Combined with dust and suction lock, it can bind. Let the unit cool 10–15 minutes and try again with the release button held down while twisting.
Q: Can I use WD-40 on the release button?
A: Avoid petroleum oils—they attract dust and can degrade plastics. Use a dry silicone spray sparingly or isopropyl alcohol for cleaning.
Q: The button presses but the wand still won’t budge. What next?
A: Clean around the latch with a brush and compressed air, then try twisting while pulling. If that fails, use a thin nylon strip or feeler gauge to depress the latch manually (Method 5).
Q: My wand release tab looks bent. Can I fix it?
A: Minor burrs can be smoothed with ultra-fine sandpaper, but bent or cracked tabs should be replaced to avoid breakage and recurring jams.
Q: Will forcing the wand out damage my Dyson?
A: Yes, excessive force can snap the latch or warp the connector. Always press and hold the release button, twist gently, and escalate to controlled methods if needed.
Q: The wand sticks at the floorhead/tool instead of the main body. Same solutions?
A: Yes. Press the red tool-release button at the tool neck, clear debris, and twist gently. Clean and inspect that latch as well.
Q: How often should I clean the latch area?
A: Wipe it every 1–2 months or whenever you empty particularly dusty bins. Regular maintenance prevents grit buildup that causes sticking.
Alternative Solutions
If the wand continues to jam despite cleaning and careful removal, consider these options:
| Solution | Pros | Cons | Best For |
|---|---|---|---|
| Replace the wand | Quick, restores smooth fit | Cost $40–$120 | Warped or cracked wands |
| Replace latch/button assembly | Inexpensive part | Requires careful installation | Sticky or damaged buttons |
| Use third-party wand | Lower cost | Fit/finish may vary | Out-of-warranty users |
| Contact Dyson Support | Warranty-safe | Possible turnaround time | In-warranty units or severe damage |
Get Your Dyson Wand Working Again
Following this guide, you now have multiple solutions to fix a Dyson vacuum wand that will not release:
– Quick-release techniques with proper alignment and twist
– Cleaning and lubricating the button and latch safely
– Methods to overcome suction lock and thermal binding
– Deep inspection, minor surface smoothing, and part replacement options
– Professional help guidance if parts are damaged
Don’t let a stuck wand stall your cleaning. Start with the quick fixes, work through the cleaning steps, and your Dyson wand should release smoothly in minutes.
Have you successfully freed your Dyson wand? Share your model and what worked in the comments to help other readers. Found this guide helpful? Bookmark it for future reference.