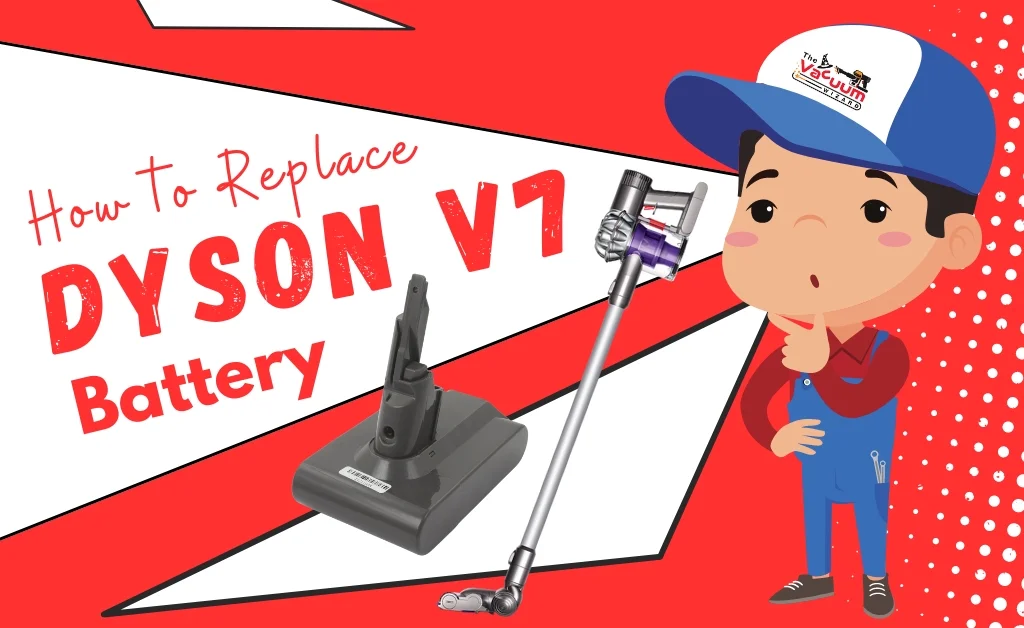
Your Dyson V7 suddenly dies mid-clean or only runs for a minute—even after a full charge? You’re not alone. A worn-out battery is one of the most common issues with Dyson stick vacuums. The quick fix: replace the battery with a compatible genuine or high-quality third-party pack. This guide shows you exactly how to replace a Dyson V7 battery safely and correctly in under 15 minutes.
In this comprehensive Dyson V7 battery replacement guide, you’ll learn how to diagnose a failing battery, choose the right replacement, remove the old unit, install the new one, and calibrate it for best performance. We’ll also cover troubleshooting, maintenance tips to extend battery life, and when to call a professional.
Common Signs You Need a Dyson V7 Battery Replacement
- Runs for less than 3–5 minutes on Low mode
- Flashing red light (often 32 or 12 flashes) while trying to run
- No response when pressing the trigger, even after charging
- Charger light shows green but vacuum won’t power on
- Battery gets unusually hot or won’t charge fully
- Noticeable loss of suction and power surges on Max mode
Important: Some symptoms can be caused by airflow blockages or a clogged filter. Always clear blockages and clean/replace the filter first to rule out an airflow fault indicator.
What You’ll Need for a Dyson V7 Battery Replacement
| Item | Quantity | Specifications |
|---|---|---|
| Replacement battery | 1 | Dyson V7 compatible, 21.6V Li-ion, 2000–3000 mAh |
| Small Phillips screwdriver | 1 | Size PH1 or PH0 |
| Soft cloth | 1 | For handling and cleaning |
| Optional: Replacement screws | 2–3 | If originals are stripped |
| Optional: Replacement filter | 1 | Dyson V7 filter (if due) |
Warning: Only use batteries designed for the Dyson V7. V6/V8/V10 batteries are not compatible. Check connector shape, voltage (21.6V), and mounting screw positions.
Preparing for a Safe Battery Replacement
- Turn off and unplug the charger.
- Empty the dust bin and remove attachments.
- Work on a clean, flat surface with good lighting.
- Allow the vacuum and battery to cool down if recently used or charged.
- Wear dry hands—avoid static discharge.
Important: Never pierce, crush, or open a lithium-ion battery. If the battery is swollen, smells like chemicals, or is leaking, do not use it. Dispose of it immediately at a certified e-waste or battery recycling facility.
Step-by-Step Dyson V7 Battery Replacement

Phase 1: Remove the Old Battery
Diagnosing the Issue
- If your V7 shows a flashing red light or runs only seconds, a failing battery is likely.
- Confirm the charger works: the charger LED should light up when connected. If not, test a different outlet or charger.
Removal Steps
- Detach the wand and any tools.
- Open the bin: pull the red lever to lift the cyclone and open the base flap.
- Remove the bin:
– With the bin open, locate the small red release tab near the bin hinge and slide it to fully remove the bin from the main body. This exposes the front battery screw. - Locate and remove the screws:
– One screw under the handle (rear of the grip).
– One screw at the front of the battery (now visible with the bin removed).
– Some variants have a third screw under the handle near the trigger—remove if present. - Slide the battery straight down and out from the handle housing.
Tip: Keep the screws in a small dish so you don’t lose them.
Phase 2: Install the New Battery
Fitment Check
- Confirm the replacement battery’s connectors and mounting points align with the V7 body.
- Ensure contacts are clean and free of debris.
Installation Steps
- Slide the new battery into place from the bottom until it seats firmly.
- Reinstall screws:
– Tighten the rear handle screw first until snug (do not over-torque).
– Tighten the front screw by the bin mount.
– Replace the third screw if your model uses one. - Reattach the bin:
– Slide the bin back onto the rails under the cyclone assembly until it clicks.
– Close the base flap securely.
Warning: Do not overtighten screws—this can crack the housing or strip threads.
Phase 3: Charge and Calibrate
First Charge
- Connect the charger and place the V7 on charge.
- Allow a full, uninterrupted charge for 3.5–5 hours (until the indicator shows fully charged, typically solid light).
- Do not use the vacuum during the first charge.
Battery Calibration
- After the first full charge, run the vacuum on Low mode until it stops.
- Fully recharge again without interruption.
- Repeat for 2–3 cycles to optimize the battery’s capacity and lifespan.
How to Choose the Right Dyson V7 Replacement Battery

Genuine vs Third-Party
- Genuine Dyson battery:
- Pros: Best fit/compatibility, reliable electronics, maintains safety and balance.
- Cons: Higher cost.
- High-quality third-party battery:
- Pros: Lower price, sometimes higher capacity (e.g., 3000 mAh).
- Cons: Quality varies; cheap options may overheat, have poor BMS (battery management system), or shorten motor life.
Key Specs to Check
- Compatibility: Must say “Dyson V7” (not V6/V8).
- Voltage: 21.6V nominal (6-cell Li-ion pack).
- Capacity: 2000–3000 mAh (higher mAh offers longer run time but may increase weight).
- BMS protection: Overcharge, over-discharge, over-current, short-circuit, and thermal protection.
- Certifications: CE, FCC, RoHS where applicable.
- Warranty: 6–12 months minimum.
Important: Avoid ultra-cheap, no-name batteries without clear specs, reviews, or protections.
Troubleshooting After Battery Replacement

Vacuum Won’t Turn On
- Check screws and seating: ensure the battery is fully inserted and flush.
- Confirm a full charge: leave on charger for 3–5 hours.
- Try a different outlet or the original Dyson charger.
- Inspect the trigger switch—ensure it clicks and isn’t obstructed.
- Remove and reinstall the battery to reset contact.
Fast Red Flashing Light Persists
- Could indicate battery BMS fault or a non-compatible pack.
- Ensure the filter is installed; some models won’t run without the filter seated.
- Check for blockages or a clogged filter—airflow faults can trigger shutdown.
- If using a third-party battery, contact the seller for a replacement.
Very Short Runtime on New Battery
- Run 2–3 full charge/discharge cycles to calibrate.
- Clean the filter (wash with cold water, dry 24 hours) or replace if older than 12 months.
- Check for clogs in wand, brush, and cyclone.
- Avoid using Max mode unless needed; it drastically reduces runtime.
Battery or Handle Getting Hot
- It’s normal for some warmth during heavy use or charging.
- If it becomes hot to the touch or smells odd, stop using immediately and contact the battery seller.
- Ensure vents are clear and the filter is clean.
Maintenance Tips to Extend Dyson V7 Battery Life

- Charge smart:
- Avoid leaving it at 0% for long periods—recharge after each use.
- Occasional full cycle (every 2–3 months) helps calibrate the meter.
- Storage:
- Store at room temperature, dry environment.
- If unused for months, store at ~40–60% charge and top up every 2–3 months.
- Usage habits:
- Minimize Max mode; use the right cleaning head for flooring to reduce load.
- Keep filters clean to reduce motor strain.
- Charging habits:
- Use the original charger or a reputable equivalent.
- Unplug if the charger or battery becomes excessively hot.
Pro Tips
- Label the install date on the new battery with a marker; typical lifespan is 2–4 years depending on use.
- Keep a spare filter on hand; a clogged filter can mimic a bad battery.
- If screws are stripped, replace them; proper clamp force ensures solid electrical contact.
- Don’t run the vacuum immediately after washing the filter—ensure it’s fully dry to avoid sensor faults.
- If you rely on long cleaning sessions, consider a higher-capacity battery but verify brand reputation and thermal protections.
- Mount the charger dock near ventilation and away from direct sunlight.
- After installation, test both Low and Max modes to verify performance.
When to Seek Professional Help
- You see swelling, leakage, or a chemical smell from the battery.
- The vacuum still won’t power on with a confirmed good battery and charger.
- Burn marks on contacts or repeated thermal shutdowns occur.
- Trigger, motor, or mainboard issues suspected (e.g., runs only when wiggling the trigger).
- You’re not comfortable opening or handling the device.
Typical Costs:
– Genuine Dyson V7 battery: $60–$100+
– Quality third-party battery: $25–$60
– Professional service (diagnosis and install): $50–$120, plus parts
Warranty Considerations:
– Third-party batteries may void remaining Dyson warranty.
– If your V7 is still under warranty, contact Dyson support before replacing the battery yourself.
FAQs
Q: How long does a Dyson V7 battery last?
A: Typically 2–4 years, depending on usage frequency, charging habits, and operating temperatures. Heavy Max mode use reduces lifespan.
Q: What runtime should I expect after replacement?
A: On Low mode, about 20–30 minutes with the standard battery, depending on attachment and floor type. On Max mode, expect 5–7 minutes.
Q: Can I use a Dyson V8 battery in a V7?
A: No. The V7 and V8 batteries are not cross-compatible due to different mountings and electronics.
Q: Do I need to replace the filter when I replace the battery?
A: Not required, but recommended if your filter is over 12 months old or shows wear. A clean filter improves performance and battery life.
Q: Why does my V7 blink red after installing a new battery?
A: It may indicate a battery error, airflow blockage, or incompatibility. Verify the filter is seated, clear clogs, and ensure the battery is designed for the V7. If the issue persists, contact the battery vendor.
Q: Is it safe to leave the V7 on the charger?
A: Yes, the charger and BMS manage charging and maintenance. However, avoid extreme heat and ensure ventilation around the dock.
Q: How do I dispose of the old battery?
A: Recycle it through an authorized battery recycling program or e-waste facility. Do not throw it in the trash.
Q: My vacuum still dies quickly after getting a new battery—why?
A: Check for clogged filters, blocked airflow, or failing motor/PCB. Perform calibration cycles and ensure you’re not using Max mode constantly.
Alternative Options If Replacement Doesn’t Help
If a fresh, compatible battery doesn’t solve your issue, consider these alternatives:
| Solution | Pros | Cons | Best For |
|---|---|---|---|
| Professional repair | Expert diagnostics, safe | Costly, time without vacuum | Mainboard/trigger faults |
| Upgrade to newer model | Latest tech, longer runtime | Higher upfront cost | Heavy users or worn V7 units |
| Keep a second battery (if model variant supports removable packs) | Extended run time | Extra cost, added weight | Large homes/long sessions |
Note: Some V7 variants have screw-in batteries only; quick-swap external packs are not standard on V7 like later models.
Get Your Dyson V7 Working Again
By following this Dyson V7 battery replacement guide, you can restore performance and extend the life of your vacuum:
– Diagnose battery vs airflow issues
– Choose a safe, compatible replacement
– Replace the battery step-by-step in minutes
– Calibrate and maintain for maximum lifespan
– Troubleshoot post-install issues like flashing lights or short runtime
Don’t let a weak battery sideline your cleaning routine. Replace your Dyson V7 battery today and enjoy reliable suction and runtime again.
Have you replaced your Dyson V7 battery successfully? Share your experience and which battery you chose to help other readers. Found this helpful? Bookmark it for future reference. Still stuck? Describe your symptoms in the comments for personalized advice.
