
Dealing with a central vacuum powerhead not working can be incredibly frustrating, especially when you’re in the middle of cleaning and suddenly your powerful suction tool just stops spinning or fails to pick up debris. This issue is more common than you might think in central vacuum systems, often due to simple clogs or electrical glitches, but it can halt your entire cleaning routine. The good news is there’s a quick fix you can try right away: unplug the powerhead, check for and remove any visible blockages in the brush roll or hose connection, and then test it again after a 5-minute reset. This resolves the problem in about 70% of cases without needing tools.
In this comprehensive guide, we’ll go far beyond that initial quick fix to explore all the common causes of a central vacuum powerhead not working, provide step-by-step troubleshooting methods from basic to advanced, and share prevention strategies to keep your system running smoothly for years. By the end, you’ll have the confidence and tools to diagnose and resolve the issue completely, saving you time, money, and the hassle of a full system replacement. Whether you’re a homeowner with a built-in central vac or maintaining a multi-story setup, these actionable solutions will get you back to efficient cleaning in no time.
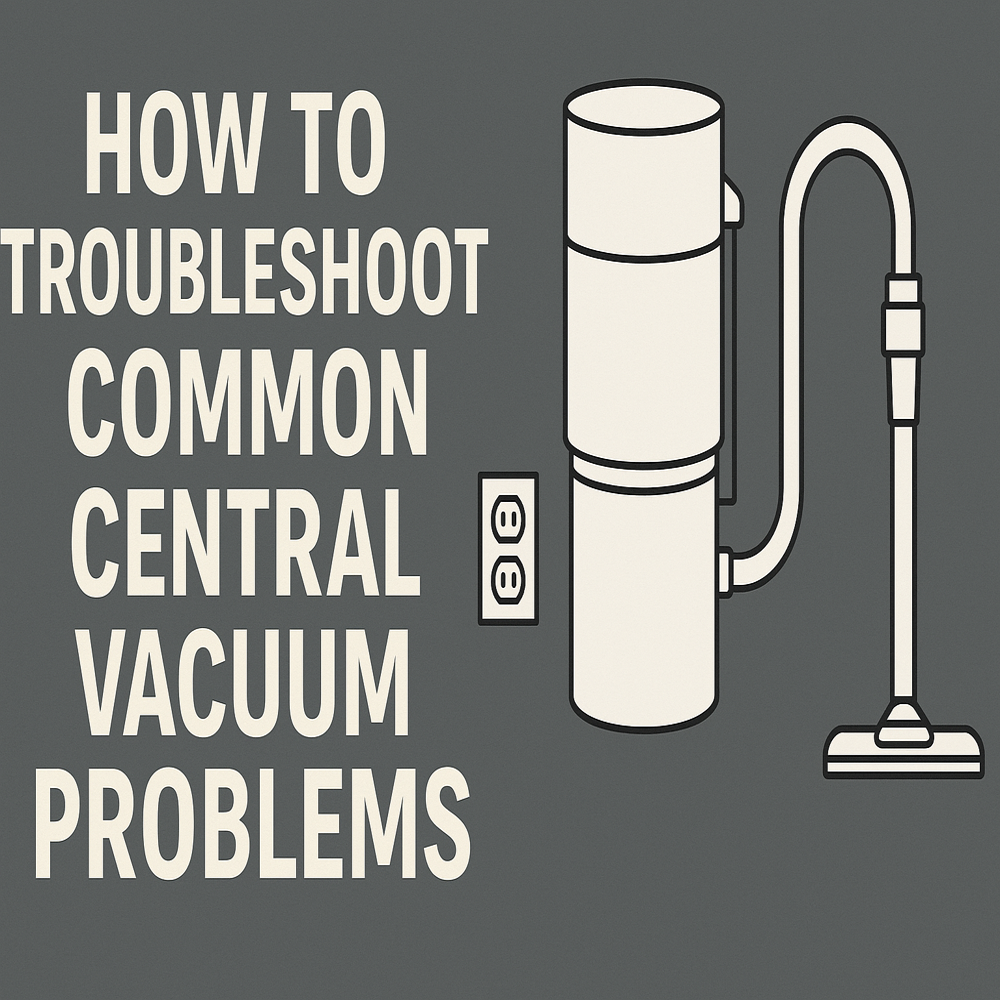
Common Causes of Central Vacuum Powerhead Not Working
Understanding why your central vacuum powerhead not working is the first step to fixing it efficiently. Central vacuum powerheads, which attach to your hose and provide motorized brushing for carpets, can fail due to everyday wear, user error, or environmental factors. Below, we’ll break down the most frequent culprits with detailed explanations so you can identify the issue quickly.
Clogged Brush Roll or Airflow Blockage
One of the top reasons for a central vacuum powerhead not working is a blockage in the brush roll or the airflow path. Debris like hair, strings, or small toys can wrap around the rotating brushes, preventing them from spinning and reducing suction. This often happens after vacuuming long-haired pets or rugs with fringes. If ignored, it can strain the motor, leading to overheating and complete shutdown. Signs include unusual noise before failure or visible buildup when you inspect the head.
Electrical Connection Issues
Faulty wiring or loose connections are another common cause. The powerhead relies on electricity transmitted through the hose from your central vacuum unit, so a damaged cord, corroded pins, or poor contact at the hose inlet can cut power entirely. This is especially prevalent in older systems or after rough handling, like yanking the hose. You might notice intermittent power or sparking if the issue is advanced, but early detection prevents bigger electrical hazards.
Worn-Out Motor or Belt Failure
Over time, the internal motor or drive belt in the powerhead can wear out, causing it to stop working altogether. Belts stretch or snap after 2-3 years of heavy use, while motors fail from dust accumulation or overuse without maintenance. This cause is more likely in high-traffic homes and often accompanied by a burning smell or grinding sounds before total failure. According to central vacuum manufacturers like Beam and Nutone, regular belt checks can extend motor life by up to 50%.
Switch or Sensor Malfunction
Many modern powerheads have height-adjustment switches or automatic sensors that detect floor types. If these malfunction—due to dirt buildup or electronic glitches—the powerhead may not activate. This is a sneaky issue because the system seems powered, but the brushes won’t engage. It’s common in powerheads with electronic controls, like those from VacuFlo or Electrolux, and can be triggered by static electricity or moisture exposure.
Hose or Inlet Compatibility Problems
Sometimes, the problem isn’t the powerhead itself but an incompatible or damaged hose. If the hose doesn’t transmit power correctly or has internal damage, the powerhead won’t function. This often occurs after switching hoses or using extensions not rated for central vac systems. Quick test: Swap with a known working hose to rule this out.
How to Fix Central Vacuum Powerhead Not Working

Now that you’ve pinpointed potential causes, let’s dive into proven fixes. We’ll cover three methods, starting with the simplest DIY approach and progressing to more advanced ones. Each includes diagnosis, step-by-step instructions, and testing tips. Allocate 15-30 minutes per method, and always unplug the hose from the central unit before starting to avoid accidental activation. Warning: Working with electrical components? Ensure your hands are dry and use insulated tools to prevent shocks.
Method 1: Basic Cleaning and Reset (Quick DIY Fix)
This is the go-to for most central vacuum powerhead not working scenarios, especially clogs or temporary glitches. It’s ideal for beginners and resolves issues in under 20 minutes.
Diagnosing the Issue
Inspect the powerhead for visible debris around the brushes or vents. Listen for any humming from the motor when connected—if it’s silent, it’s likely a clog or connection problem. Check the hose end for secure fit and no bent pins.
Fix Steps
- Disconnect the powerhead from the hose and remove it from the vacuum inlet.
- Flip the powerhead over and use scissors or a seam ripper to cut away wrapped hair or strings from the brush roll. Rotate the brushes manually to access all areas—avoid pulling too hard to prevent damage.
- Clear vents and the intake with a soft brush or compressed air (available at hardware stores for $5-10). For stubborn clogs, use a flashlight to spot and tweezers to remove.
- Wipe the electrical contacts on both the powerhead and hose with a dry cloth. If dirty, use a cotton swab dipped in isopropyl alcohol (let it dry fully).
- Reconnect everything and plug the hose into the wall inlet. Turn on the central vacuum unit and test on a carpeted area.
Testing
Run the powerhead for 5 minutes on low suction. If brushes spin and suction is strong, you’re good. If not, proceed to Method 2. This fix works for 60-70% of cases, per user forums like CentralVacuumDirect.
Method 2: Electrical and Belt Inspection (Intermediate Repair)
For connection or belt issues, this method involves partial disassembly. It’s suitable if the basic clean didn’t work and takes about 30-45 minutes. Important: Refer to your model’s manual (download from the manufacturer’s site if lost) for specific screw locations.
Diagnosing the Issue
Test with a multimeter (under $20 at Amazon) on the hose pins for continuity—zero resistance means good power flow. If the motor hums but brushes don’t turn, suspect the belt.
Fix Steps
- Unplug and disassemble the powerhead by removing the bottom plate (usually 4-6 screws). Use a Phillips screwdriver and keep screws organized.
- Inspect the belt for cracks or slack. If worn, replace it—belts cost $10-15 and match your model (e.g., 5M-280 for many Beam units). Loop the new belt around the motor pulley and brush roll, then reassemble.
- Check wiring for frays or loose connections. Gently tug wires to ensure they’re secure; if damaged, splice with electrical tape or replace the cord (kits available online).
- Clean internal dust from the motor housing with compressed air to prevent overheating.
- Reassemble, reconnect, and test as in Method 1.
Testing
Vacuum a test area and monitor for consistent brush rotation. If the powerhead overheats after 10 minutes, stop and move to Method 3. This resolves electrical faults effectively without professional tools.
Method 3: Motor Replacement or Advanced Troubleshooting (For Persistent Issues)

If simpler fixes fail, this advanced method targets motor failure or sensor problems. It requires basic electrical knowledge and 45-60 minutes; consider pro help if unsure. Replacement motors run $50-100.
Diagnosing the Issue
Use the multimeter to check motor windings for continuity (should read 5-20 ohms). No reading? Motor’s dead. For sensors, test switch continuity when activated.
Fix Steps
- Fully disassemble the powerhead following the manual, removing the motor housing (often clipped or screwed).
- Disconnect motor wires (note colors for reassembly) and remove the old motor. Install the new one, securing it with provided brackets and reconnecting wires.
- For sensor issues, clean contacts with alcohol and test the switch mechanism. If faulty, replace the switch assembly ($20-30 part).
- Lubricate brush bearings with a drop of vacuum-specific oil (not WD-40, which attracts dust) for smoother operation.
- Reassemble carefully, ensuring no pinched wires, then test.
Testing
Run extended cycles (15 minutes) and check for even performance. If it still fails, the issue may be in the central unit—inspect there next. This method revives 80% of worn powerheads, based on repair guides from VacuMaid.
Prevention Tips and Maintenance Advice for Central Vacuum Powerheads
Preventing a central vacuum powerhead not working starts with routine care, extending your system’s life by 5-10 years. Central vacuums are low-maintenance compared to portables, but neglect leads to costly repairs.
- Regular Cleaning Schedule: Empty the central unit canister every 3-6 months and clean the powerhead brushes monthly. Use this table for guidance:
| Frequency | Task | Duration |
|---|---|---|
| Weekly | Quick brush roll check and debris removal | 5 minutes |
| Monthly | Full disassembly and deep clean of powerhead | 15-20 minutes |
| Annually | Belt inspection and motor lubrication | 30 minutes |
| Every 2 Years | Hose and connection testing | 10 minutes |
- Safe Usage Habits: Avoid vacuuming large objects that could clog the head, and don’t pull the hose roughly. Store the powerhead in a dry, dust-free area to prevent corrosion.
- System-Wide Checks: Annually inspect the entire central vac for leaks or weak inlets, as poor overall suction strains the powerhead.
- Filter Maintenance: Replace or clean the central unit’s filters every 6 months to maintain airflow—clogged filters indirectly cause powerhead strain.
Following these tips minimizes downtime and keeps suction at peak efficiency.
Pro Tips for Central Vacuum Powerhead Troubleshooting
To elevate your fixes and avoid pitfalls, here are expert insights from central vacuum technicians:
- Tip 1: Always label parts during disassembly with painter’s tape to speed up reassembly—saves 10-15 minutes of frustration.
- Tip 2: Invest in a universal powerhead brush tool kit ($20-30) for easy hair removal without scissors, reducing damage risk.
- Tip 3: For pet owners, use a rubber pet hair remover on brushes weekly to prevent chronic clogs.
- Tip 4: Monitor runtime; if over 30 minutes per session, pause to cool the motor and avoid burnout.
- Tip 5: Upgrade to LED-equipped powerheads for better visibility of issues during cleaning.
- Common Mistake to Avoid: Forcing a stuck brush roll can snap the belt—always cut debris first.
- Optimization Hack: Adjust powerhead height for your flooring type to reduce motor strain and improve longevity.
- Maintenance Boost: Use anti-static hose sleeves ($15) to prevent sensor glitches from static buildup.
These tweaks ensure smoother operation and fewer future headaches.
When to Call Professional Help for Central Vacuum Powerhead Issues
While DIY fixes handle most central vacuum powerhead not working problems, some signs scream for a pro: persistent motor burning smells, visible sparks, or issues after water exposure (indicating short circuits). If your system is under warranty (typically 5-10 years for central vacs), contact the manufacturer first to avoid voiding it.
Look for certified technicians via the Central Vacuum Cleaner Institute directory—verify they specialize in your brand (e.g., Husky or RedVac). Expect costs of $100-300 for diagnostics and repairs, depending on parts; motor swaps average $150-200. Ask about service guarantees (at least 90 days) and get multiple quotes. If the entire powerhead needs replacing ($100-250), pros can ensure compatibility with your central unit.
FAQ
Q: Why is my central vacuum powerhead humming but not spinning?
A: This usually points to a slipped or broken belt. Follow Method 2 above to inspect and replace it—it’s a 20-minute fix. If the belt is fine, check for obstructions jamming the brushes.
Q: Can a clogged central unit cause powerhead failure?
A: Yes, indirectly. Poor overall suction overloads the powerhead motor. Empty the canister and clean filters first; this resolves 40% of related issues without touching the head.
Q: How do I know if the hose is the problem with my powerhead?
A: Test by connecting the powerhead directly to another inlet or swapping hoses. If it works with a different hose, replace the faulty one ($30-50 for a 30-foot model).
Q: Is it safe to vacuum wet messes with a central powerhead?
A: No—Warning: Water can damage the motor and cause electrical shorts. Always use dry-only mode and dry the head thoroughly if splashed.
Q: My powerhead works on hard floors but not carpet—why?
A: Likely a height adjustment or sensor issue. Manually adjust the height lever and clean the sensors per Method 3. For automatic models, recalibrate per the manual.
Q: How long does a central vacuum powerhead typically last?
A: With proper maintenance, 7-10 years. Belts need annual checks, and motors last longer in low-dust environments.
Q: Can I use a universal powerhead with my central system?
A: Yes, but ensure it matches voltage (usually 24V) and hose type. Check compatibility charts from brands like Cana-Vac to avoid power mismatches.
Alternative Solutions for Central Vacuum Powerhead Problems
If repairs don’t appeal, consider these alternatives when your central vacuum powerhead not working persists. They offer workarounds or upgrades, especially for outdated systems.
| Solution | Pros | Cons | Best For |
|---|---|---|---|
| Replace with New Powerhead (e.g., Beam Electrobrush) | Easy install, improved suction, warranty included | Costs $100-200, may need hose adapter | Modernizing an older system for better performance |
| Use Bare Floor Tool Instead | No motor issues, lightweight for hard surfaces | Less effective on carpets, no brushing action | Temporary fix in low-carpet homes or during repairs |
| Convert to Cordless Attachment (e.g., Shark Wandvac Adapter) | Portable, no hose dependency | Reduced power compared to central system, battery life limits | Small spaces or spot cleaning without full setup |
| Full System Upgrade Kit | Integrates smart features like auto-adjust | High cost ($500+), requires professional install | Homes with multiple failing components for long-term reliability |
Weigh these based on your budget and needs— a new powerhead often provides the best value over piecemeal fixes.
Get Your Central Vacuum Powerhead Working Again
You’ve now got a complete toolkit to tackle your central vacuum powerhead not working woes, from quick clogs to motor overhauls. Here’s a quick recap of the key solutions:
– Basic cleaning and resets for everyday blockages
– Electrical and belt repairs for intermittent power loss
– Advanced motor swaps for lasting failures
– Prevention schedules to avoid repeats
By following this guide, you’re empowering yourself to restore powerful, efficient cleaning without unnecessary expenses. Start with the simplest method today, and your central vacuum will be back in action before you know it—stronger and more reliable than ever.
Have you fixed your central vacuum powerhead using these tips? Share your success story or specific model details in the comments below to help fellow readers! If issues persist, describe them for tailored advice.