
If your Dyson DC18 keeps shutting off the moment you release the power button, you’re not alone. A “won’t stay on” issue is common with older Dyson models—especially uprights like the DC18—due to a worn power switch, a broken switch actuator/lever, or a failed cable. Quick fix: try cleaning around the switch and handle area, check the cable for breaks, and test with the vacuum fully upright. If it still won’t latch, the internal power switch or actuator likely needs replacement.
In this guide, you’ll learn the most common causes of a Dyson DC18 power switch not staying on and how to fix them step by step—from easy checks to replacing the switch assembly. You’ll also get prevention tips, pro advice, and what to do if a repair isn’t practical.
Common Causes of a Dyson DC18 Not Staying On
- Worn or broken power switch (latching mechanism fails to hold)
- Broken switch actuator/lever in the handle/upper chassis
- Stuck or misaligned trigger/handle due to debris or cracked plastic
- Damaged mains cable near the plug or machine entry point
- Faulty cord rewind (if applicable on your region variant) or internal wiring fatigue
- Thermal cut-out tripping from blockages or overheating
- Loose connections at the switch or motor terminals
How to Fix a Dyson DC18 Power Switch That Won’t Stay On
Important: Unplug the vacuum before opening any panels or touching internal components. If you’re not comfortable with electrical repairs, consult a professional.
Method 1: Quick Checks and Reset
Diagnosing the Issue
- Time: 5–10 minutes
- Tools: None
Fix Steps
- Unplug the vacuum and inspect the mains cable.
– Look for kinks, cuts, or flat spots—especially near the plug and where the cable enters the vacuum. Gently flex these areas; if you feel cracking or see exposed wires, the cable may be failing. - Ensure everything is seated correctly.
– Refit the bin and cyclone assembly until it clicks.
– Reseat the wand/handle fully. A partially inserted wand can interfere with internal linkages on some Dyson uprights. - Check for overheating reset.
– If the vacuum cut out mid-use, let it cool for 30–60 minutes.
– Remove blockages from the brush head, wand, and hose. Clean filters (see prevention). - Try switching it on again with the machine fully upright.
– Some models rely on an upright position for proper engagement of internal levers.
Testing
- Plug in, stand the vacuum upright, press the power switch. If it still won’t latch (turns off when pressure is released), proceed to Method 2.
Method 2: Clean and Inspect the Power Switch Area
Diagnosing the Issue
- Time: 10–20 minutes
- Tools: Soft brush, compressed air, cotton swabs, isopropyl alcohol (70%+)
The DC18’s plastic around the handle and switch can accumulate dust and hair that interfere with the switch actuator’s movement.
Fix Steps
- Unplug the vacuum.
- Use compressed air or a soft brush around the power button and handle seam to remove debris.
- Gently press the power switch repeatedly to work out grit.
- Lightly clean around the button with a swab dampened in isopropyl alcohol. Do not flood the switch—avoid getting liquid inside.
Testing
- After drying for 5 minutes, plug in and try again. If the button still won’t latch, the internal latching switch or actuator is likely worn or broken.
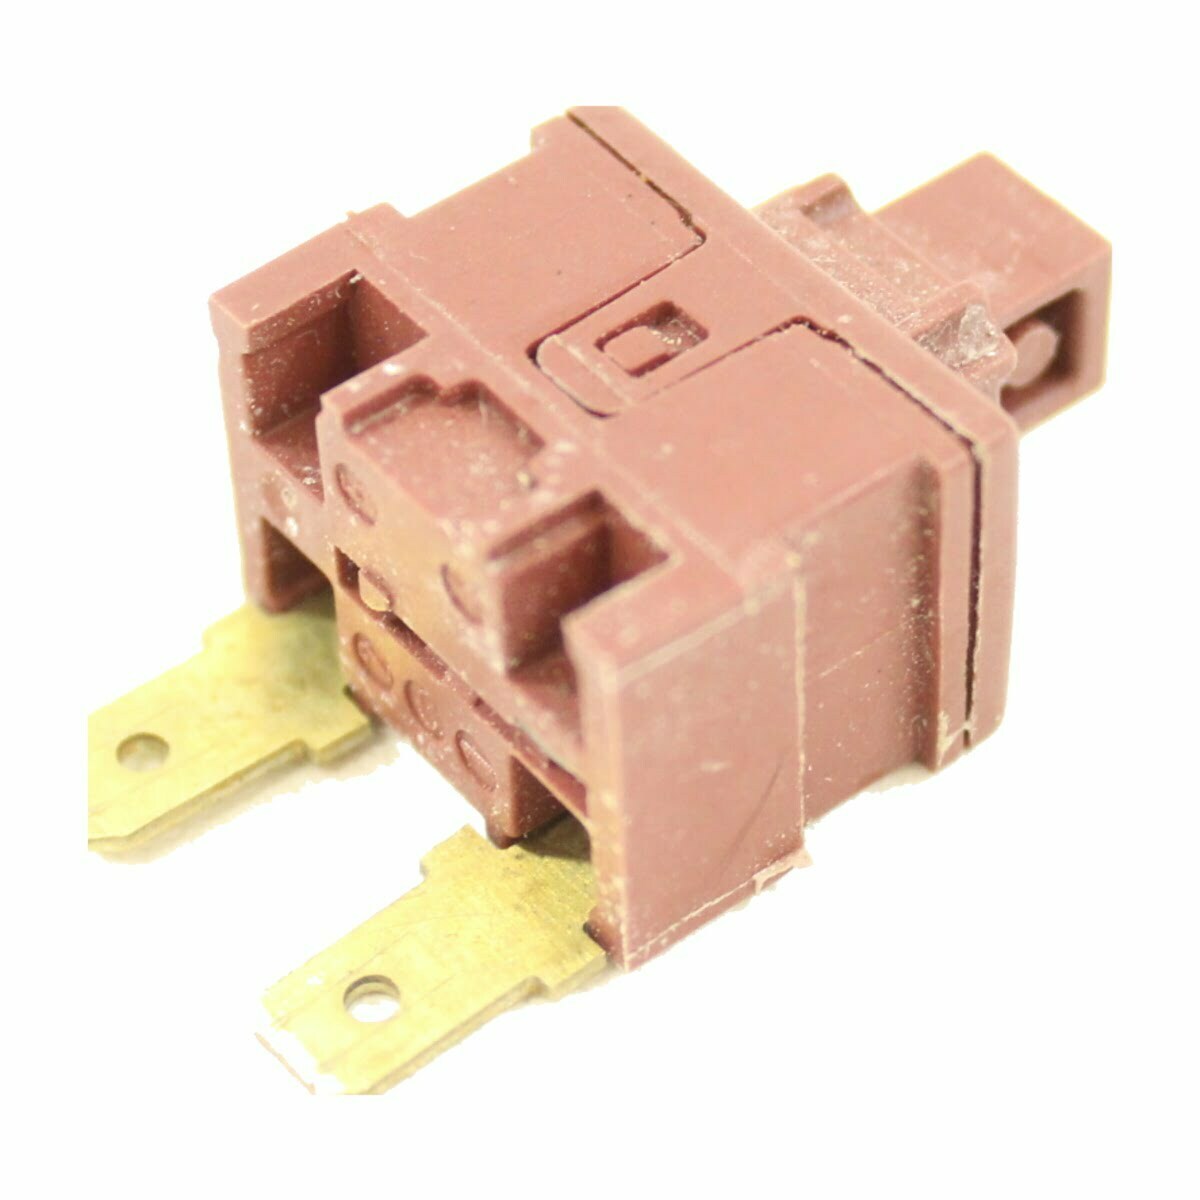
Method 3: Replace the Power Switch (Most Common Fix)
A failing latching switch is the number one cause of “won’t stay on.” Replacing it is a straightforward repair if you’re comfortable opening the housing.
Warning: This involves mains voltage. Unplug before starting. If unsure, hire a technician.
Diagnosing the Issue
- Time: 30–60 minutes
- Tools: Phillips screwdriver, Torx T8/T10 (varies), small flat-head, needle-nose pliers
- Parts: Compatible latching power switch for Dyson DC18 (search “Dyson DC18 power switch replacement”). OEM is preferred; many third-party switches work but verify spade connector size and orientation.
Symptoms pointing to switch failure:
– Power only stays on while you physically hold the button.
– A “mushy” or inconsistent click when pressing the switch.
– No obvious cord damage; overheating and blockages ruled out.
Fix Steps
- Unplug and prep.
– Remove bin and cyclone. Detach the wand/handle for better access if necessary. - Access the switch housing.
– On the DC18, the power switch is typically located behind the upper chassis/handle cover near the main body. Remove screws on the upper cover. Note screw lengths and locations. - Identify the switch and wiring.
– You’ll see the latching switch with two or three spade connectors. Take a photo before removing any wires to ensure correct reassembly. - Disconnect the old switch.
– Use needle-nose pliers to gently pull spade connectors. Avoid yanking the wires. - Release and remove the switch.
– Depress plastic clips or remove screws holding the switch in place. - Install the new switch.
– Seat it firmly in the same orientation. Reconnect spade terminals exactly as before. - Reassemble covers.
– Refit the handle/upper chassis covers. Ensure no wires are pinched.
Testing
- Plug in and press the power button. You should feel a solid click and the vacuum should stay on without holding the button. If it still won’t latch, the actuator/lever may be damaged—see Method 4.
Method 4: Inspect/Replace the Switch Actuator or Handle Mechanism
The DC18 uses a mechanical linkage in the handle/upper body to press the latching switch. If the plastic lever is cracked or out of alignment, the switch won’t engage or stay latched.
Diagnosing the Issue
- Time: 30–60 minutes
- Tools: Phillips/Torx screwdrivers, flashlight
- Parts: Handle/upper chassis lever or actuator (model-specific)
Signs of actuator issues:
– Switch tests fine out of the housing, but doesn’t latch when assembled.
– The external button feels loose, misaligned, or doesn’t fully depress.
– Visible cracks or wear on the plastic lever that presses the switch.
Fix Steps
- Disassemble the handle/upper cover again.
- Locate the actuator piece that interfaces with the switch.
- Inspect for cracks, warped plastic, or missing spring clips.
- If damaged, replace the actuator/handle piece with a DC18-compatible part.
- Ensure smooth movement and alignment when reassembling—no rubbing or binding.
Testing
- Before fully closing, dry-fit the cover and test the button travel. Reassemble completely and test powered.
Method 5: Check Cable, Motor, and Internal Connections
If the switch and actuator are good, you may have a power delivery issue or intermittent cut-out.
Diagnosing the Issue
- Time: 30–45 minutes
- Tools: Multimeter (continuity), screwdrivers
- Parts: Mains cable, terminal connectors as needed
Fix Steps
- Cable continuity test.
– With the vacuum unplugged, test continuity from the plug prongs to the switch terminals. Flex the cable near each end as you test. If continuity drops when bending, the cable is failing and should be replaced. - Inspect internal connectors.
– Check spade terminals on the switch and motor. Tighten or replace loose connectors. Burned or discolored connectors indicate heat damage; replace them. - Motor thermal reset check.
– If the motor overheats due to a clog, the thermal fuse cuts power. Clear all blockages, clean filters, and allow cooling before retesting.
Testing
- After any repair or cable replacement, reassemble and test the power switch. The vacuum should power on and continue running without finger pressure on the button.
How to Prevent Future Power Switch Problems
- Keep dust and hair out of the handle/switch area with periodic cleaning.
- Avoid yanking the cord; unwind fully before use.
- Don’t run the vacuum with clogged filters—heat accelerates plastic wear and can affect switch longevity.
- Store in a dry area to prevent corrosion on terminals.
- Periodically check cable strain points and replace at first signs of damage.
Pro Tips
- Photograph every stage of disassembly. It makes reassembly much easier.
- Label screws by location (small cups or tape on paper) to avoid mixing lengths.
- When installing a new switch, apply a small dab of dielectric grease to spade connectors to reduce corrosion and ease future service.
- Test the latching action before fully closing the covers—press the actuator to confirm a positive click on the new switch.
- Use OEM or high-quality aftermarket switches; low-grade parts can have weak latches.
- If the switch works outside the case but not when assembled, suspect actuator misalignment or cover pressure pinching the switch.
- Clean and dry filters fully before reinstalling; wet filters can cause short-term shutdowns due to restricted airflow and overheating.
When to Call a Professional
- You smell burning or see melted plastic near the switch or connectors.
- The cable shows damage, and you’re not confident doing mains repairs.
- The vacuum trips your breaker or RCD when plugged in.
- You replaced the switch but the unit still won’t stay on—possible deeper wiring/motor fault.
What to look for in a service provider:
– Experience with Dyson uprights and access to DC18 parts
– Clear diagnostic fee and repair warranty (30–90 days is common)
– Positive reviews and transparent quotes
Typical costs:
– Switch replacement: $40–$90 parts and labor
– Cable replacement: $50–$110
– Deeper electrical diagnosis: $60–$120+ depending on region
Warranty note:
– The DC18 is an older model; manufacturer warranty is typically expired. Third-party repairs won’t affect any remaining extended coverage, but confirm with your provider.
FAQ
Q: Why does my Dyson DC18 only run while I hold the button?
A: The latching mechanism inside the power switch is likely worn or the actuator isn’t engaging it correctly. Replace the latching power switch and verify actuator alignment.
Q: Can a clogged filter cause the vacuum to shut off immediately?
A: Clogs and dirty filters can trigger the thermal cut-out after running briefly, but they don’t typically prevent the switch from latching. If it won’t stay on as soon as you release the button, focus on the switch/actuator.
Q: How do I know if it’s the cable or the switch?
A: If the power cuts intermittently when bending the cable near the plug or entry point, suspect the cable. If the power only stays on while holding the button regardless of cable position, suspect the switch.
Q: Is replacing the power switch difficult?
A: It’s moderate. With basic tools and careful disassembly, most DIYers can complete it in 30–60 minutes. Photograph wiring and note screw locations.
Q: What switch do I need for the DC18?
A: Search for a “Dyson DC18 latching power switch” compatible with your region’s voltage. Verify connector style and orientation match your original switch.
Q: The switch clicks, but the vacuum still turns off—what next?
A: Inspect the actuator/lever alignment and the external button travel. If those are fine, check internal connectors and the motor’s thermal reset. Also verify cable continuity.
Q: Will Dyson still repair a DC18?
A: Availability varies by region; many service centers prioritize newer models. Independent vacuum repair shops often handle DC18 repairs with aftermarket parts.
Alternative Solutions
If repair isn’t worth it due to age or multiple issues, consider replacement options.
| Solution | Pros | Cons | Best For |
|---|---|---|---|
| Replace power switch and actuator | Lowest cost, extends life | Time/effort; other old parts may fail later | DIYers on a budget |
| Professional repair | Fast, warranted work | Higher cost | Those wanting a guaranteed fix |
| Replace with refurbished Dyson upright | Newer tech at lower price | Shorter warranty than new | Cost-conscious upgrade |
| Replace with new cordless Dyson | Lightweight, convenient | Higher price, runtime limits | Smaller homes, frequent quick cleans |
| Replace with new bagged upright (non-Dyson) | Less maintenance, great filtration | Heavier, bags cost | Allergy sufferers, low-maintenance users |
Get Your Dyson DC18 Working Again
By following this guide, you now have clear paths to fix a Dyson DC18 power switch that won’t stay on:
– Quick checks for cable damage, overheating, and mis-seated parts
– Cleaning the switch area to restore button travel
– Replacing the latching power switch—the most common fix
– Inspecting/replacing the actuator and verifying internal connections
Don’t let a faulty switch sideline your vacuum. Start with the easy checks, then move to a switch replacement if needed, and you’ll likely restore full function in under an hour.
Have you fixed your Dyson DC18 power switch? Share what worked for you or ask a question below—your experience can help other Dyson owners get back to clean floors faster.